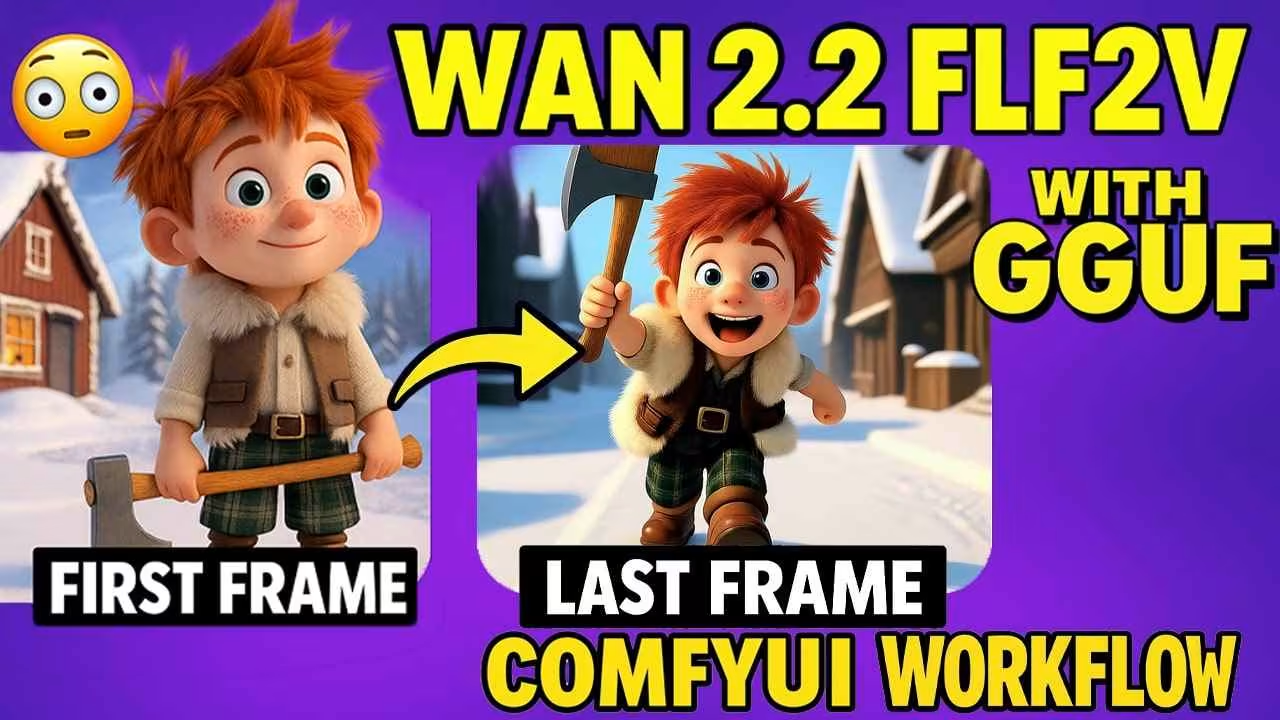
So yeah — WAN2.2 FLF2V is finally here.
If you’ve used WAN2.1 in ComfyUI before, you already know how smooth the transitions were. This new version just improves everything. It’s faster, feels more stable, and the results are cleaner right from the start.
I’ve been testing it since it dropped in August 2025, and the biggest thing they’ve added is FLF2V — First and Last Frame to Video. You just give it two images — one for the start, one for the end — and it fills in the middle automatically. No need to mess with motion paths or tweak anything.
And the best part? It runs natively in ComfyUI now. You don’t need to install anything extra. Just open the latest version and it’s already there.
What FLF2V Actually Does (And Why It’s Different)
FLF2V stands for First-Last Frame to Video. You give the model two images — one to start, one to end — and it creates the video in between.
Like if you use a sunrise as your first image and a sunset as your last, WAN2.2 fills in everything that happens in the middle. It handles the motion, lighting, and changes on its own.
This was already in WAN2.1, but WAN2.2 does it better. The scenes stay more stable. Everything looks smooth, and I didn’t see any strange flickers or glitches.
It works great for pose changes or showing something change over time. You don’t need long prompts or 100 test runs. Just pick two frames and let it build the video.
WAN2.2 FLF2V vs T2V and I2V Modes
You might be wondering how this compares to the other WAN modes — like text-to-video (T2V) or image-to-video (I2V). I’ve used those too, and they’re fine… but FLF2V just works better when you want control.
What Makes WAN2.2 FLF2V Better
Here’s what I noticed right away when I tried it.
How I Set Up the WAN2.2 FLF2V Workflow in ComfyUI
So yeah — when I found out WAN2.2 now supports First and Last Frame to Video, I got excited. And when I actually tested it? The results were way better than I expected. You don’t even need a new model for this. Just update your ComfyUI and it works.
I didn’t need to download anything new. It uses the same model files from the I2V section. If you don’t already have those, here’s the link to my earlier post where I listed them all.
The model uses the same folder path as the I2V section — no extra setup. It just loads.
What’s New Inside the Workflow
When you open the workflow, there’s really just one thing that’s different: the new WAN First Last Frame to Video node. That’s where you drop your two images — your start frame and your end frame.
There’s an Image Group now with two separate Load Image nodes. One is for the first frame. The other is for the last. That’s it.
I also added a GGUF support node in the Load Model section. So if you want to run a GGUF version instead of a safetensors model, you can do that — just change a couple nodes.
If you want to see the full setup in action, I made a quick video tutorial showing how to build and run the WAN2.2 FLF2V workflow inside ComfyUI. You can watch it
Switching to GGUF Models
To switch to GGUF, here’s what I did:
That’s it. You’re now using GGUF.
You can grab the official GGUF versions here on Hugging Face. GGUF models are available from Q2 to Q8, and here’s how it works: the lower the Q, the less VRAM you need. I ran Q5 on a 4GB card with offloading. If you offload it right, even 3GB works.
Once you’ve got everything set, just save the model to your ComfyUI/models/diffusers folder.
One Important Step Before You Run
Before you try running this — update ComfyUI.
Seriously. If you don’t update, you’ll get a CLIP Vision error and nothing will work. That was the first thing I hit when I tried it on my older setup. So yeah, update first or it’s going to throw errors.










Hey! I’m getting an error in ComfyUI when loading a workflow:
Missing Node Type: LayerUtility: PurgeVRAM V2
Looks like this node is missing.
Can anyone tell me where to get it and how to install it? Thanks in advance!
search that node
HELLO
I have the same mistake. The collection is not working
can anyone can tell how long it will take to generate the video by using gguf? with or without sageattention?