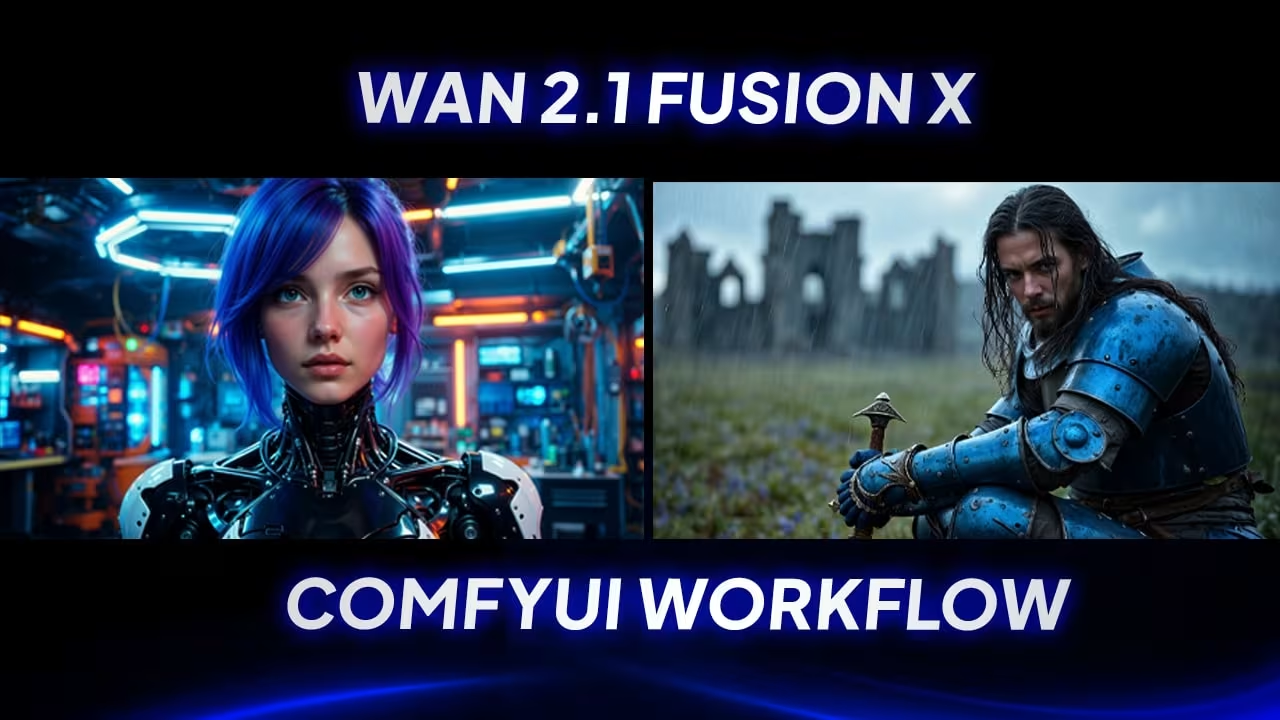
Back in the day, we had the old WAN 2.1 model. And while it worked okay, there were some real pain points — like painfully slow generation times and frames that didn’t always line up the way you wanted. You’d spend forever tweaking prompts, waiting for renders, and hoping your output looked decent.
Then Wan 2.1 FusionX dropped.
This isn’t just another incremental update—it solves the two biggest pain points we’ve had with AI video:
- Generation speed (6 steps vs. traditional 50+ step workflows)
- Frame consistency (finally getting smooth, natural motion)
I’ve been testing FusionX for three weeks across cinematic, character animation, and product visualization projects. Here’s what actually works—and where it still struggles.
How to Get Started With ComfyUI
You’ll use the same VAE, text encoder, and CLIP vision files you had before — the only difference is swapping out your old WAN model for FusionX.
You’ve got two main versions: FP8 and FP16. Which one you pick depends on your GPU VRAM.
All models are on Hugging Face:
- Full Precision Models:
They also offer GGUF quantized versions if you prefer smaller file sizes. You’ll find Q2 through Q8 variants plus the full F16 version.
- GGUF Quantized (for lower VRAM):
What to expect:
Smaller files, but keep in mind that lower quantization levels (like Q2 or Q3) might affect output quality. For most tests, Q4-Q6 gives a solid balance.
Model File save it in your comfyui/models/diffusion_models
Image-to-Video Comfyui Workflow
The workflow splits into two parts: image-to-video and text-to-video. Let’s start with image-to-video since that’s where I saw the biggest jump in performance.
First, make sure you’re using the correct model version — the i2v one. And if you’re going GGUF instead of safetensors, connect those nodes accordingly.
One of the coolest things? You can get great results in just 6 steps . I pushed it to 10 once, but honestly, 6 was more than enough. The CFG is set to 1 by default, and the shift value is now 2 instead of the older 5.
| Parameter | Value | Notes |
| Steps | 6 | Can increase to 10 if needed |
| CFG Scale | 1 | Best result |
| Shift | 2 | (Was 5 in older Wan models) |
| Resolution | 1024×576 | 16:9 cinematic aspect |
| Frames | 81 | Smooth motion quality |
For resolution, I’ve had success with 1024×576 at either:
- 121 frames @ 24fps (motion completely broke)
- 81 frames @ 16fps
When I go from 81 to 121 frames, the motion completely broke — the guy just sat there doing nothing. At first I thought maybe switching to FP16 would help, but nope. Same result.
This told me there’s definitely a sweet spot. So far, 81–97 frames works best.
What surprised me even more was the speed. Using FP16 and only 10GB VRAM, it took just 1 minute and 54 seconds to generate. That’s insane when you compare it to how long other models take.


Please, can you make this workflow compatible with Windows? The dependencies your workflow currently requires only work on Linux.
The workflow is window-friendly. To make it work, try bypassing both the WanVideo Torch compile setting and enabling block swap. Then, try again after changing the attention mode to spda.
Please create workflow for GGUF
sure! once done i will update
Thank you very much; keenly waiting for GGUF workflow.
You say:
“Using FP16 and only 10GB VRAM, it took just 1 minute and 54 seconds to generate.”
I have 12GB of VRAM (CUDA and ComfyUI updated) and I am only able to render 1 frame. if I want to render more 1 I have memory error.
how do you do that with a model FP16 that weighs more than 30GB?
Failed to send verification email.