

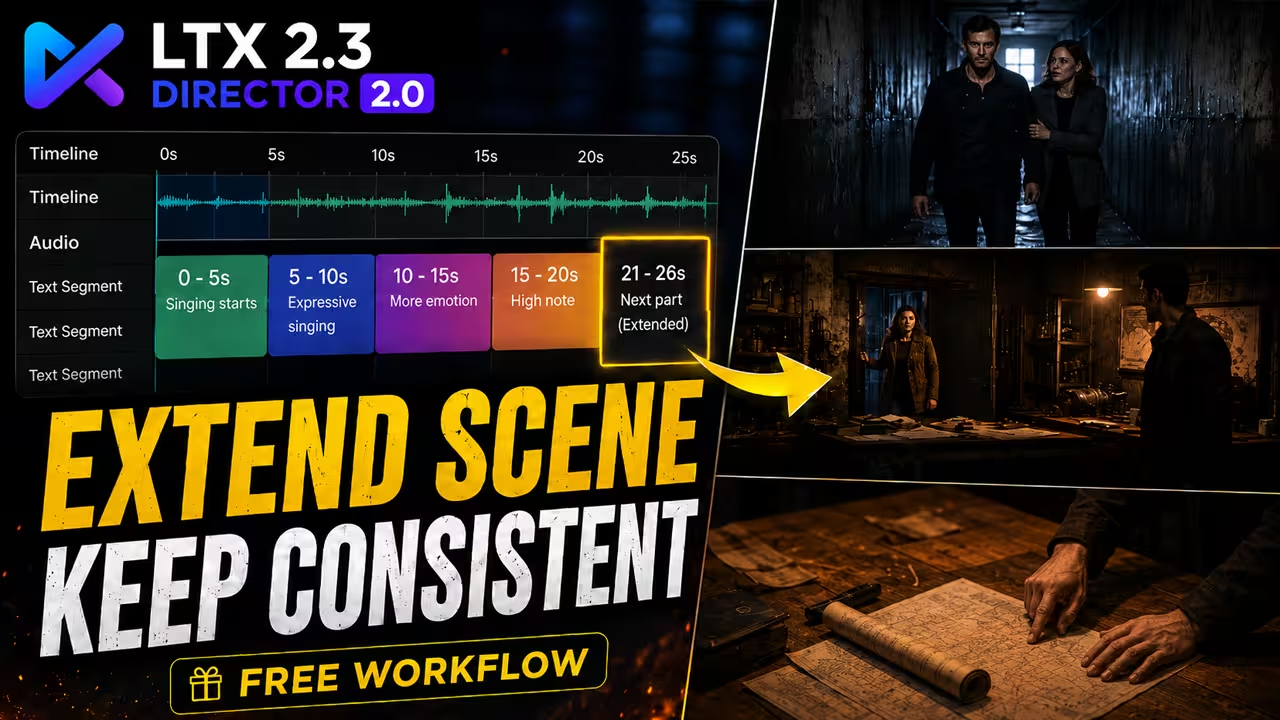
Are you struggling to make your AI characters move and speak in perfect timing with your audio tracks? Standard AI video generators often ignore sound cues, leaving you with mismatched footage that takes hours to edit. I tested the new LTX 2.3 Director suite in ComfyUI, and it completely solves this problem. With its visual timeline, you can schedule precise action changes and achieve highly accurate lip-syncing. In this guide, I will show you the exact model configurations, timeline settings, and segment-prompting formulas I use to build seamless, story-driven AI videos.
What is LTX Director and Why You Need It
- Direct Answer: LTX Director is a specialized custom node suite for ComfyUI that adds a visual timeline editor to your workspace. It allows you to schedule multiple text prompts, import audio, and control camera movements chronologically in a single render.
- Step-by-Step Action: Install the node package, switch the interface to
Secondsmode, and map your text segments to build controlled sequences.
If you generate individual clips and stitch them together, your videos will often suffer from sudden transitions or visual errors. LTX Director solves this by processing your entire sequence as a continuous timeline. This is designed to help you create cohesive, movie-style scenes with minimal editing.
Setting Up the LTX 2.3 Director Models
Before setting up your timeline, you must install the custom nodes and load the correct files.
Install the Custom Timeline Nodes Open your ComfyUI Manager and search for "WhatDreamsCost-ComfyUI". Install this package and restart ComfyUI. Once reloaded, search your nodes list for LTX Director and place it on your canvas.
Load the Dev and Audio VAE Files Inside the LTX Director node, you will see input hooks for your models. Connect the following files to get started:
- Model: Dev FP8 LTX 2.3 model.
- Speed LoRA: LTX 2.3 Distilled LoRA (Version 1.1).
- Dual CLIP Loader: Gemma 3 12B and the LTX 2.3 text encoder.
- VAE: LTX VAE video and audio files.
- Utility LoRAs: A
transition LoRAfor smoother cuts and aVBR LoRAto fix video physics.
Connect all of these to your LTX Director Guide node to finish the base configuration.
Controlling Image-to-Video Timing
To convert a static image into a video, you need to use the timeline interface properly.
Load the image you want to animate into your workspace. Inside the timeline editor, set your display mode to Seconds instead of Frames, and set the framerate to 24 FPS.
Here is the most important setting: your starting image must stay on the timeline for at least one second. Once the timeline registers this one-second mark, the segment editor will activate, allowing you to write custom motion descriptions.
How to Setup Multi-Segment Actions (Prompt Relay)
Instead of using a single global prompt, you can schedule different actions at exact timestamps. This feature acts like a visual prompt relay.
For example, to create a 10-second sequence with four separate actions:
- Right-click the timeline and select “Add Text Segment” to create four distinct text blocks.
- Set each block to cover a specific time window.
- Make sure the magnet option in LTX Director is turned on. This setting forces your segments to snap together and align correctly.
You can write detailed directions inside each block. For example, from 1 to 3 seconds, prompt: “A man sits completely still on the wet wooden bench. He slowly raises his hand slightly and holds the cigarette close to his face”. From 3 to 6 seconds, write your next step: “The man slowly lowers his hand back while quietly holding the cigarette. Then the cigarette smoke twists and drifts gently”.
The AI will process these instructions in chronological order, executing the actions smoothly.
How to Sync Video Actions to Audio Tracks
One of the most powerful features of LTX Director is its built-in audio engine. You can easily load sound files and coordinate your visual prompts to match the audio track.
Aligning Text Segments to Songs or Dialogue First, ensure your audio option is enabled in the workflow. Load your audio file (for example, a 20-second song or voiceover).
Next, divide your timeline into blocks (such as five blocks of 5 seconds each). For your global prompt, simply describe the art style and the background environment.
Making Your Character Sing and Speak In your individual 5-second text segments, describe the movements you want your character to perform alongside the audio. For example, write that the character is standing in front of a microphone, singing, moving naturally, and smiling based on the timing of your track.
Because the audio and video models are processed together, the final output will generate realistic lip-syncing that matches your audio track perfectly. You can even add environmental sound descriptions directly inside your timeline prompts (e.g., “Rain pattering softly on the wooden platform, a low distant train rumble…”) to give the generator extra stylistic cues.
Extending Your Story Beyond 10 Seconds
If you want to build longer narrative sequences, you can chain these generations together.
Generate your first 5-second scene, swap your reference image or scene settings, and generate the next 5-second part. Once you have your rendered clips, import them into an external editor like Premiere Pro, join them together, and you can extend your story endlessly. This workflow is designed to help you maintain character and scene consistency while building complete, movie-style narratives

