

How to Upscale MiniMax H3 to 2K in ComfyUI
SEO Title: MiniMax H3 2K Upscaling in ComfyUI: My Best Settings
Meta Description: I tested the MiniMax H3 Latent Upscaler in ComfyUI at 1, 1.5, and 2 megapixels. Here is the two-pass workflow and the settings that gave me better detail.
I tested a new MiniMax H3 latent upscaler in ComfyUI to see whether I could push H3 closer to 2K without generating the complete video at high resolution from the start.
The workflow works, but one setting matters more than I expected.
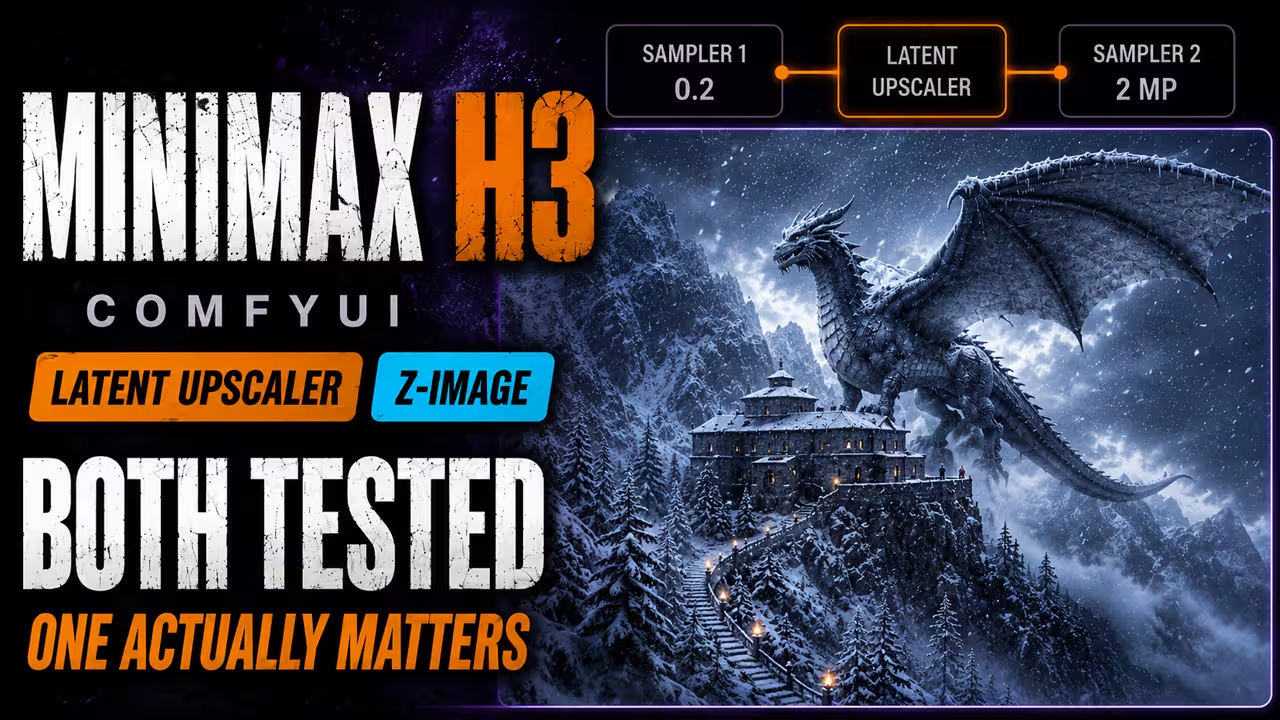
After testing 0.2 MP and 0.5 MP first passes, I would use 0.5 MP for most scenes. A 0.2 MP first pass can work for close-ups, but small faces, people, and objects can lose too much information.
How the MiniMax H3 Latent Upscaler Works
I used the community MiniMax H3 Latent Upscaler 3D with the FP32 model.
The node sits between two sampling stages.
It is not a normal video upscaler that takes a finished MP4 and makes it sharper.
My workflow works like this:
Low-resolution first sampler → latent upscaler → high-resolution second sampler
The first sampler creates the important structure of the video, including motion, camera movement, composition, and timing.
The latent upscaler then increases the spatial size.
The second sampler works at the higher resolution and adds the final texture and detail.
The current upscaler project also describes this as a low-resolution generation followed by latent upscaling and high-resolution refinement.
Your Second Resolution Must Be Higher
The 3D node currently gives you three ways to set the output:
- Scale by multiplier
- Target dimensions
- Megapixels
I prefer connecting the target width and height from my second stage. This keeps the upscaler synchronized when I change the final resolution.
There is one important rule:
The second resolution must be larger than the first.
If both stages use the same size, the node returns the latent unchanged.
If the target is smaller, the upscaler throws an error because it only supports upscaling.
Keep the Audio Outside the Upscaler
MiniMax H3 generates video and audio together, so I separate them before the latent-upscaling stage.
The video latent goes through the upscaler.
The audio bypasses it.
After upscaling, I combine them again before the second sampling stage.
This is important because the upscaler is working on the video information, not the audio.
Do Not Run the Second Pass at Full Denoise
The second stage should be a refinement pass.
The first sampler has already decided what happens in the video. I do not want the second sampler to throw that structure away and generate everything again.
So I use a shorter sampling schedule for the second stage.
The goal is to preserve the motion and composition while giving the higher-resolution stage enough room to improve texture and detail.
My 0.2 MP to 1 MP Test
My first example was a woman running across a wet rooftop and jumping over a gap.
I generated the first stage at:
0.2 MP
and refined it at:
1 MP
When the camera stayed close to the woman, the result looked good.
The problem appeared when the camera moved farther away.
Her face and body became much smaller in the first-stage image. At 0.2 MP, there was not enough information for the refinement stage to recover every detail correctly.
The second sampler then had to guess.
0.5 MP to 2 MP Worked Better
I generated the scene again using:
First pass: 0.5 MP
Second pass: 2 MP
The wide shot was still a wide shot, so upscaling did not magically create a close-up level of detail.
But the result was better.
The difference was especially visible in the skin and facial texture.
This is why I now prefer 0.5 MP for the first pass when the scene contains distant characters or small objects.
My Dragon Reference-to-Video Test
I also tested the workflow with a dragon flying through snow above a monastery.
This was a Reference-to-Video scene using three reference images:
- Dragon head reference
- Body, angle, and wing reference
- Environment reference
I generated three versions:
| First Pass | Second Pass | My Result |
|---|---|---|
| 0.2 MP | 1 MP | Good, but small details failed |
| 0.5 MP | 1.5 MP | Very good |
| 0.5 MP | 2 MP | Slightly sharper |
The difference between 1.5 MP and 2 MP was smaller than I expected.
I checked both versions closely, frame by frame.
The 2 MP result was sharper, but it did not look like a completely different generation.
Why 0.2 MP Can Cause Hidden Errors
The 0.2 MP dragon test revealed a more serious problem.
My reference image contained two people standing on a terrace.
The generated video contained three people.
This is the same problem I saw with the distant woman.
When a person or object becomes extremely small in the first pass, there may not be enough information left for the second pass to understand exactly what was there.
Upscaling cannot reliably restore information that was never represented clearly in the low-resolution generation.
That is why I would not use 0.2 MP for scenes with important distant characters or small objects.
H3 Native Resolution Compared With 2 MP
ComfyUI currently documents MiniMax H3’s native canvas as a 768-pixel short edge, or roughly 1344×768 at 16:9, which is close to 1 megapixel.
I pushed my second stage to 2 MP, above that native canvas.
It worked in my test and gave me slightly more visible detail.
However, I would not assume that doubling the pixel count always doubles the quality.
My 1.5 MP and 2 MP dragon results were already very close.
There is also an important memory limit: the latent upscaler can reduce the work done in the first pass, but its own documentation warns that the final refinement stage still runs at the target resolution. It is mainly a speed strategy, not a guaranteed VRAM-saving method.
Comfy Kitchen Attention
For this workflow, I used Comfy Kitchen Attention instead of Sage Attention.
Comfy Kitchen Attention is now part of ComfyUI, and the current ModelAttentionBackend can use it when the required backend is available in your environment.
This removes the separate SageAttention installation from my workflow.
I would not claim that Kitchen Attention is always faster than Sage Attention on every GPU. Performance can vary by hardware and ComfyUI version.
If Sage Attention already works well on your system, there is no need to replace it only for this workflow.
I Also Tested the H3 Z-Image Community Model
I compared the H3 Z-Image community model with my normal H3 model using three different types of scenes:
- skin and facial detail;
- cloth;
- a complex environment.
In my tests, I could not find a meaningful quality improvement.
Skin looked almost the same.
Cloth looked almost the same.
The environment also showed no clear advantage.
The Z-Image version also took slightly longer in my setup.
Based on these tests, I would stay with the official H3 model. The community Z-Image model worked, but it did not give me enough improvement to justify the extra time.
This is my own comparison, not a claim that the community model will behave the same on every workflow.
My Recommended MiniMax H3 Upscaling Settings
For most scenes, I would start here:
| Setting | My Starting Point |
| First pass | 0.5 MP |
| Second pass | 1.5–2 MP |
| Upscaler | MiniMax H3 Latent Upscaler 3D |
| Precision tested | FP32 |
| Second sampling stage | Short refinement schedule |
| Attention | Comfy Kitchen Attention in my workflow |
For a close-up where the subject fills most of the frame, 0.2 MP can still work.
But when the camera moves back, or the scene contains small faces, people, props, or background details, I would use 0.5 MP.
That was the clearest lesson from my testing.
The 2 MP output can look sharper, but starting with enough information in the first pass matters more than simply making the second-pass resolution larger.

