
Krea 2 is natively supported in ComfyUI. You do not need to install any custom nodes to run this workflow. However, you must use the correct settings because Krea 2 is a distilled model.
For the best results, you must set your generation steps to 8. You must also set your CFG (Classifier-Free Guidance) exactly to 1. The best part about this model is its speed. With these settings, it takes less than one second to generate an image on my PC.
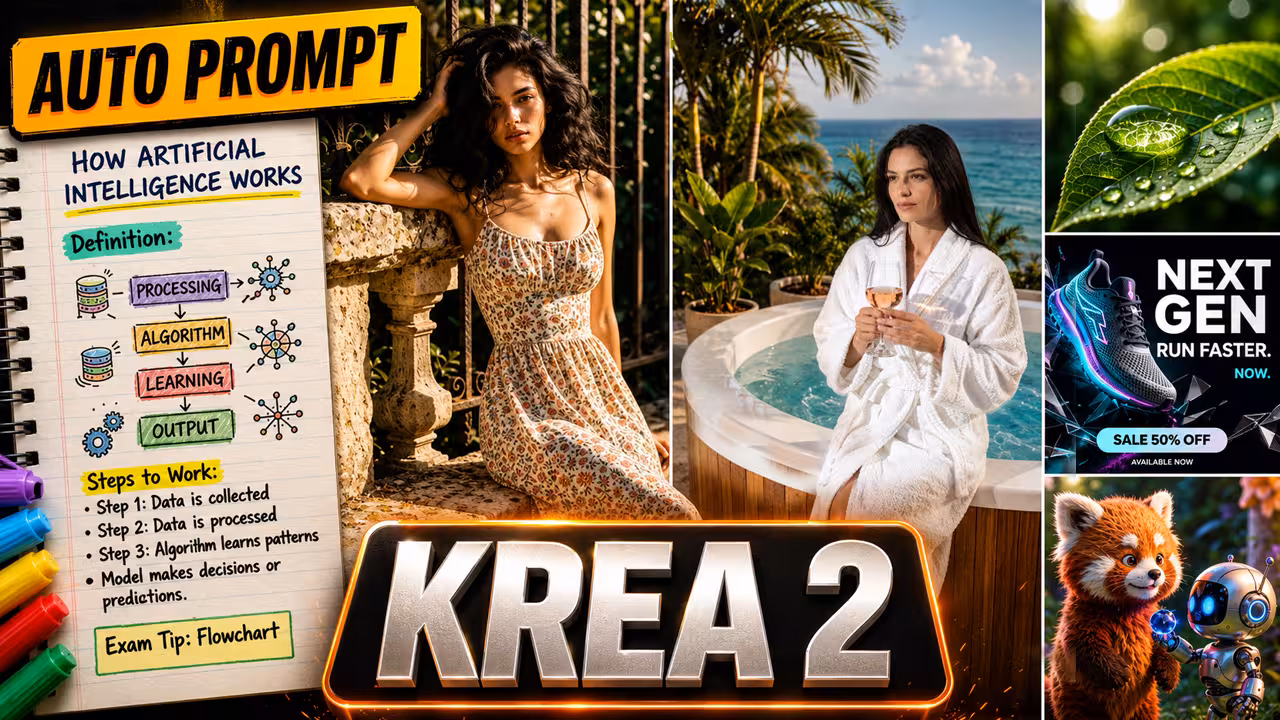
The Best Models for the Krea 2 Workflow
Before you begin, you need to download three specific files and place them in your models folder.
Load the Krea 2 Turbo and Qwen Models First, download the Krea 2 Turbo FP8 Scaled model. Connect this to your main model input. Next, download the Qwen3-VL-4B FP8 Scaled model to use as your text encoder. Finally, you need the Qwen Image VAE. Connect your positive and negative conditioning, and pass everything into your KSampler.
Set Your Resolution Safely For the resolution, use the native Resolution Selector node. This node provides a list of officially supported resolutions. Choosing from this list ensures you do not get unsupported resolution errors during generation.
How to Fix Bad Krea 2 Prompts with Gemma 4
Krea 2 does not work well with short, vague words. If you type “a cool picture of an astronaut,” the AI has to guess the lighting, camera angle, and mood. The result will look very generic.
To fix this, I use a Generate Text node connected to the Gemma 4 model.
You can write a simple, rough idea in the notes section. For example, you can write: “A woman walking in the city in a red dress.” Gemma 4 will automatically rewrite this into a highly detailed, cinematic prompt that Krea 2 perfectly understands. If you do not like the generated text, you can easily disconnect the node and edit the prompt manually.
How to Copy Styles Using Image Hook
Krea 2 also has an amazing ability to copy styles. You can use a tool called Image Hook.
Simply load a reference image of a character or a specific art style. Then, paste your text instructions into the Generate Text prompt box. In my tests, the generated clothing and environment matched the reference image by roughly 80%. This is the best way to get consistent results every time.
The Best Sampler Settings for Realistic Skin
In my first tests, the generated skin did not look very realistic. To fix this, I changed how the samplers process the image.
Based on my tests, you should use the Euler or Euler Ancestral sampler. For the scheduler, both Simple and Normal are excellent choices. To make the skin look human, I run a second sampler pass over the image. The first pass builds the structure, and the second pass adds the realistic skin details.