

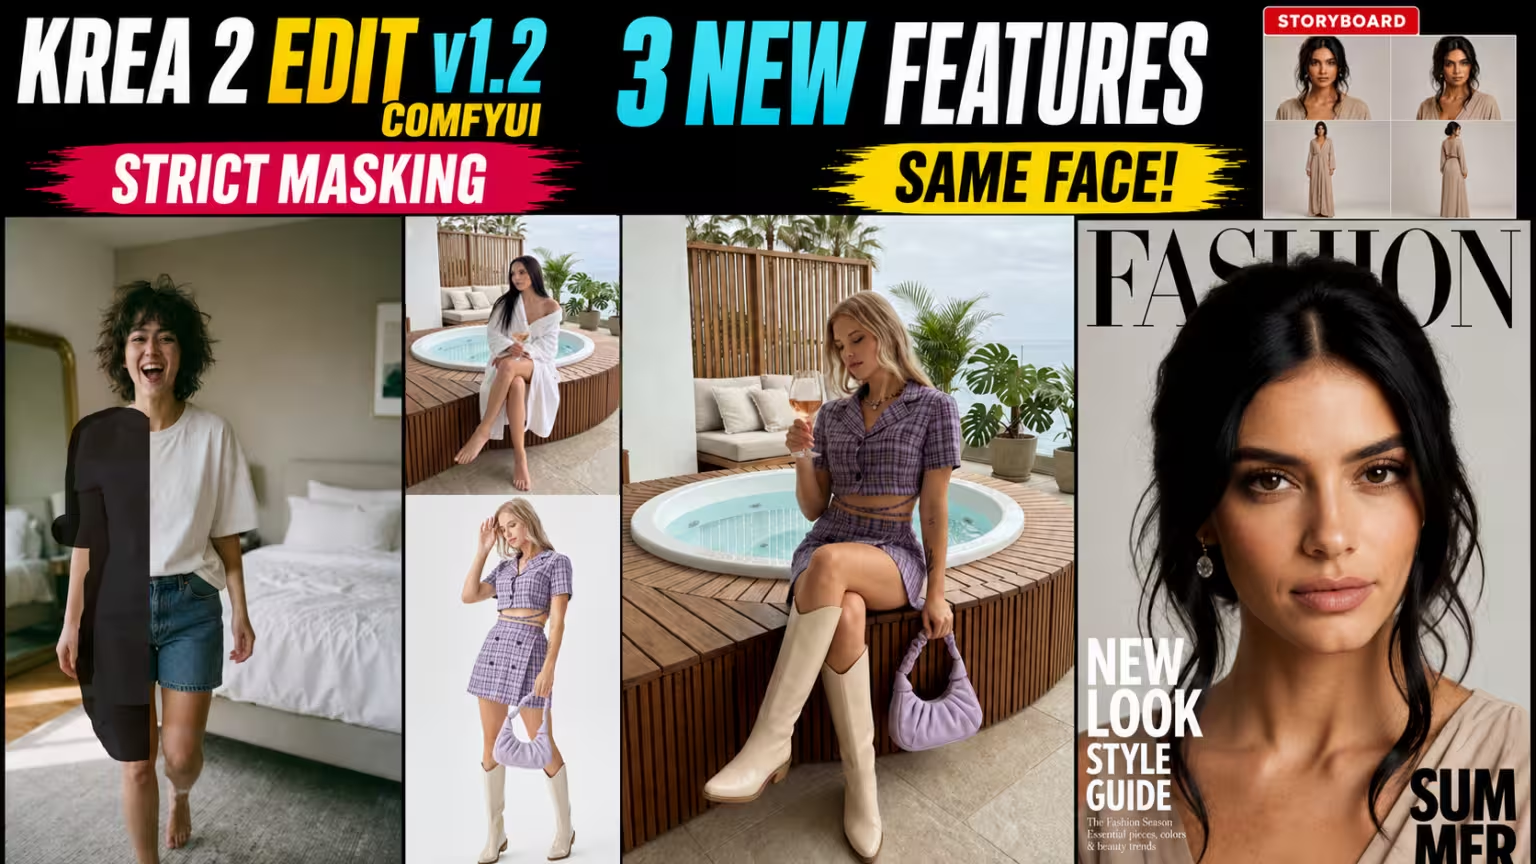
Are your local image edits in ComfyUI looking distorted, or are you struggling to keep character faces consistent across your storyboard panels? You are not alone. The new Krea 2 Identity Edit LoRA version 1.2 is a massive upgrade—trained on 1024 data pairs to handle character sheets, inpainting, and outpainting natively. However, using your old Wan 2.1 VAE setup will now ruin your images. In this guide, I will show you how to update your nodes, set up the new Krea 2 Real VAE for perfect skin textures, and use the Reference Boost setting to lock in character faces across multiple scenes
What is New in Krea 2 Identity Edit version 1.2?
Third-Party SEO Advice: It is best practice to place a direct, high-density answer (40–60 words) immediately under an H2 or H3 heading to satisfy user intent and optimize for AI Overview citations.
Direct Answer: Krea 2 Identity Edit version 1.2 is a major update to local image editing in ComfyUI. This version is trained on 1024 data pairs and introduces native character sheets, two-image editing, inpainting, outpainting, and a new Reference Boost feature to keep faces consistent across panels.
Simplest Step-by-Step Action: Update your ComfyUI, download the v1.2 LoRA and Krea 2 Real VAE, set your resolution scale multiple to 8, and run your storyboard queue.
If you used the older v1.1 LoRA, you probably had to write long, complex prompts just to get simple clothes or background edits to work. Version 1.2 solves this by understanding spatial details much better. It allows you to perform advanced storyboard edits using very simple text commands.
Step 1: Updating ComfyUI and the Custom Nodes
Direct Answer: To run the version 1.2 workflow, you must fully update your ComfyUI installation and your Krea 2 Edit custom nodes to prevent rendering errors.
Simplest Step-by-Step Action: Click “Update All” in your ComfyUI Manager, restart your workspace, and verify that the new “Reference Boost” sliders are visible on your Krea 2 nodes.
Because version 1.2 introduces new coding logic, running it on older software will cause the workflow to crash. Updating ensures that your custom nodes can read the new 1024 data pair training structure.
Step 2: Downloading the Required Model Files
You must download the new official weights from Hugging Face and place them in the correct directories.
Load the Version 1.2 LoRA First, download the Krea 2 Identity Edit LoRA v1.2 file. Place this file inside your comfyui/models/loras folder. This updated LoRA is designed to handle complex character sheets and layout edits.
Swap Wan 2.1 VAE for the Krea 2 Real VAE This is a critical change. If you use the older Wan 2.1 VAE upscaler, it will ruin your image quality when paired with the new Reference Boost setting.
To fix this, download the Krea 2 Real VAE model file. Place it inside your comfyui/models/vae folder. The Krea 2 Real VAE is specifically designed to work with v1.2 to give you much cleaner skin textures and natural faces.
Step 3: Setting Up Your Scale to Multiple Node
Direct Answer: To prevent resolution errors, you must use a “Scale to Multiple” node in your workflow and set the multiple value to 8.
Simplest Step-by-Step Action: Add a Scale to Multiple node, connect your latent input to it, set the multiple slider to 8, and send the output to your sampler.
Krea 2 strictly requires image dimensions that are divisible by 8. Setting this node to 8 ensures your custom resolutions always match the mathematical layout of the model, preventing tensor shape crashes.
Step 4: Using Reference Boost for Consistent Characters
Direct Answer: Reference Boost is a new slider setting in version 1.2 that lets you lock in the face, clothes, and hair of your reference image across your edits.
Simplest Step-by-Step Action: Use the Reference Boost Mask setting to mask the exact area you want to edit (like a T-shirt), and set the slider to guide the sampler.
In my tests, I loaded an image and used a simple prompt: “Change her black dress to a red dress”. By using Reference Boost, the character’s face remained exactly the same. The model successfully swapped the clothing color without changing the lighting, background, or physical details of the scene.
Step 5: How to Generate Character Sheets and Edit Two Images
Direct Answer: Version 1.2 allows you to generate a full character sheet from any single reference image or merge details from two separate images cleanly.
Simplest Step-by-Step Action: Load your starting image, write a simple text command, and set the layout to generate a 2-by-2 panel character sheet.
Generate a Character Sheet Natively Simply load a single portrait into your workspace. The model will automatically analyze the subject and generate a consistent 2-by-2 panel layout character sheet, showing different angles of your character.
Clean Two-Image Editing You can also edit two images together using basic prompts. For example, in my tests, I replaced one subject with another woman sitting near a jacuzzi. The new model kept the purse, shoes, and perspective physically correct, proving how much better version 1.2 handles spatial details

