
Most AI models use a VAE to compress images. HiDream O1 is different. According to the official research, it removes the VAE completely. It operates directly on raw image pixels using a single token space.
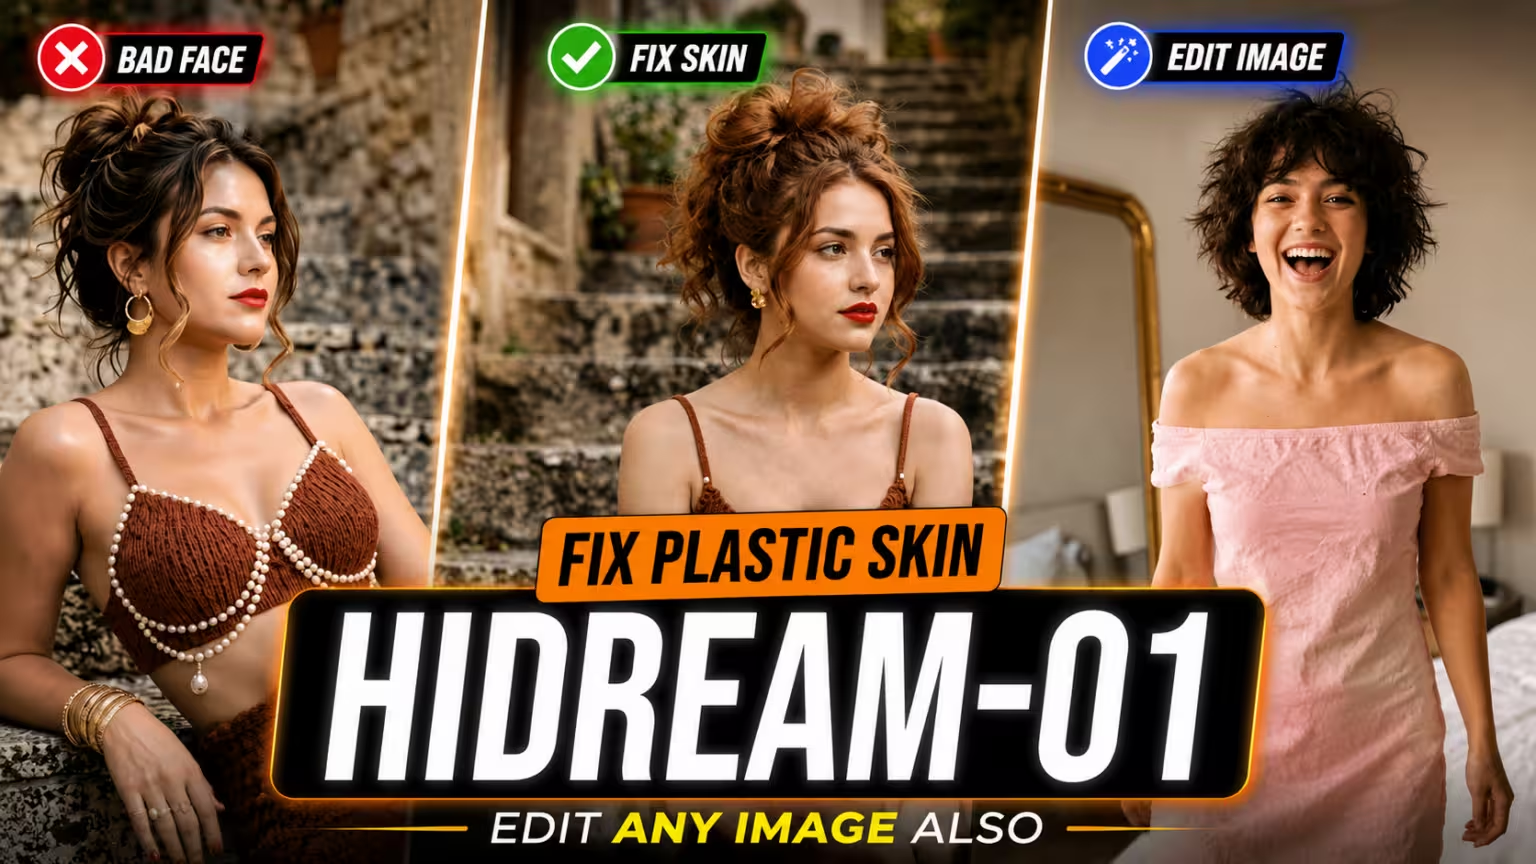
Because of this new method, default ComfyUI settings do not work well. In my first test, the skin looked like plastic, and the background colors popped too much.
Here is how you fix it.
The Exact ComfyUI Nodes to Fix Textures
To get realistic skin, we have to change how ComfyUI handles the noise removal process.
Add ModelSamplingSD3 First, add a ModelSamplingSD3 node. Place it between your main nodes and set the value to 3. Because HiDream O1 processes raw pixels instead of compressed latents, it mathematically needs a custom noise removal curve. ComfyUI does not apply this automatically. Adding this one node instantly improves the skin.
The Best Sampler and CFG Settings The skin will look better, but we need to bring back the fine details. I tested several combinations, and these are the settings that perform best:
- LoRA Strength: 0.2
- Steps: 40
- CFG: 2.0
- Sampler: Euler SDE
- Scheduler: Beta
Here is the most important part. With 40 steps and a CFG of 2, you can finally use negative prompts. Using a negative prompt with these exact settings brings back the lost detail.
How to Write SCALIST Prompts Using Gemma 4
This model has another strict rule: prompting. HiDream O1 uses the SCALIST prompting framework.
If you use too many commas or standard tag-style prompts, the model gets confused. You must write your prompt using simple English in the SCALIST format. This stands for Subject, Composition, Action, Location, Image Style, Specs, and Text. Keep it between 80 and 220 words.
To make this easy, I use the Gemma 4 model in my workflow. I connect Gemma 4 to a text generation node. I paste my basic prompt, and Gemma 4 rewrites it perfectly into the SCALIST rules. This completely stops the model from generating plastic faces.
Refining Details with Z-Image Turbo
If you want the absolute best quality, you can pass your result to Z-Image Turbo. Z-Image Turbo is fantastic for adding final polish.
Generate your main output with HiDream O1, then send it to Z-Image Turbo to refine it. Set your denoise value between 0.3 and 0.4. I also apply a ZIT FDPO LoRA to enhance the image even further. The final details look incredible.
Best Settings for Image Editing in HiDream O1
You can also use this model to edit existing images, like changing a character’s dress.
You will need the HiDream O1 Reference Images node. Before sending your image to this node, the resolution must be divisible by 32. If the math is wrong, you will get a bad result. Use an Image Scale to Total Pixels node to correct your resolution.
In image editing, you do not need a long prompt. You can just type, “Change the pink dress to a flowing emerald green silk evening gown”.
If you notice the AI is changing your background, do this:
- Disable your LoRA.
- Set steps to 50.
- Set CFG to 3.
These settings force the AI to preserve your original background while editing the subjec

