
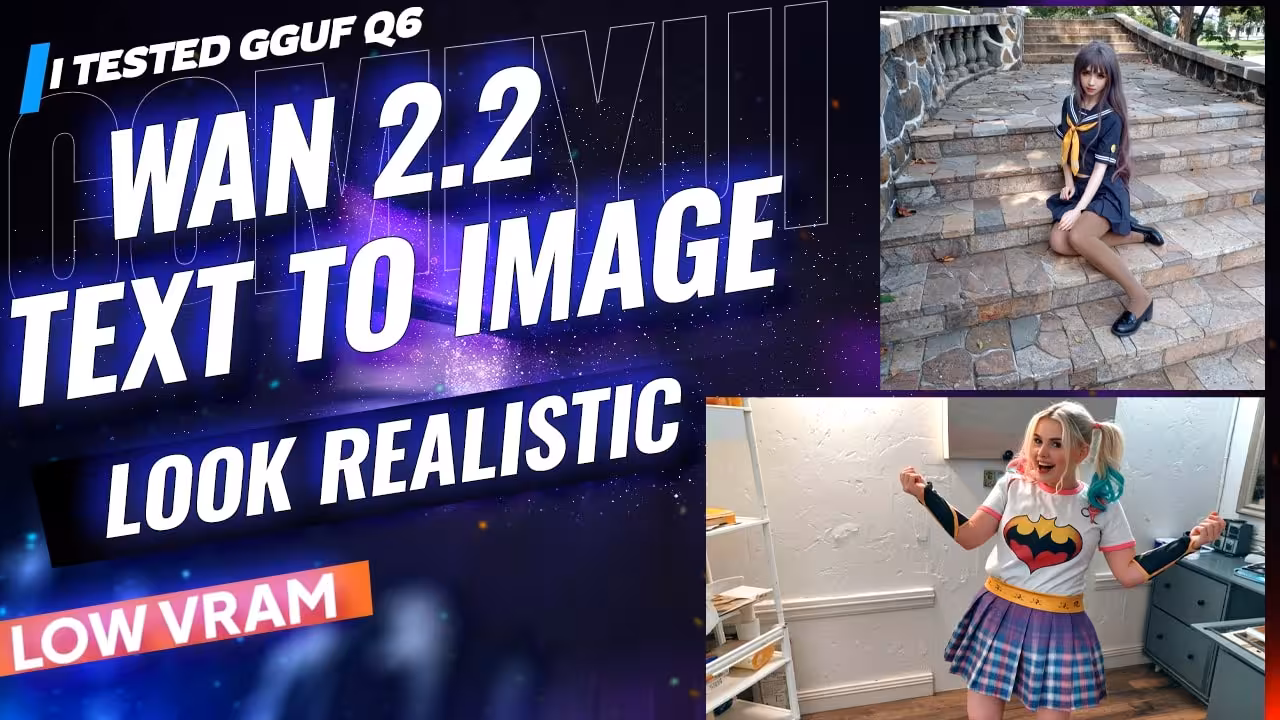
I’ve been experimenting with WAN 2.2 lately and built a workflow that makes images look like real photos. This time I’m running the Q6 WAN 2.2 GGUF model instead of BF16. The difference? GGUF lets me run on lower VRAM, so even smaller GPUs can handle it.
Low VRAM or High VRAM — Both Work
If your GPU doesn’t have much VRAM, the Q6 WAN 2.2 GGUF model works fine. In my graph, I just load the UNet and point it to the GGUF weights.
GGUF Models
If you have a stronger GPU, you can go with the BF16 safetensors model. In that case, you bypass the UNet loader and use the Load Diffusion Model node directly. It’s basically the same workflow, just fewer memory constraints.
Two Noise Loaders + LoRA for Realism
In this workflow, I’m using two loara: one trained for high noise, one for low noise. On top of that, and also I’m running the WAN 2.1 4-step LoRA.
LORA
- WAN2.2-HighNoise_SmartphoneSnapshotPhotoReality_v3_by-AI_Characters.safetensors
- WAN2.2-LowNoise_SmartphoneSnapshotPhotoReality_v3_by-AI_Characters.safetensors
I didn’t stick with the WAN 2.2 LoRAs that come with the model — the results weren’t as good for this setup.
Wan21_T2V_14B_lightx2v_cfg_step_distill_lora_rank32.safetensors
The WAN 2.1 4-step LoRA feels tuned for natural light and real-world flaws, so it nails that “phone snapshot” look.
Resolution Master and Sampler
Like in all my workflows, I drop Resolution Master in to control image size. I covered this in my Qwen image video, so if you want a breakdown of that node, check it out later.
For the sampler, I set ETA = 0.75. That’s my balance point. If you lower ETA (0.5–0.4), realism goes up, especially for landscapes, but faces and hands may break. 0.4 looks great for environments. For portraits, I usually keep it closer to 0.75.
Three Groups Workflow
This whole workflow runs in three groups:
By the end of pass three, you usually get a finished image that looks like it came off a real camera.
I made a quick video tutorial showing WAN 2.2 Text-to-Image ComfyUI Workflow inside ComfyUI. You can watch it

Demo 1 — Pirate Galleon at Sunset
Prompt: A realistic cinematic photo of a 17th-century pirate galleon sailing on a calm sea at sunset; low sea-level angle; dark wooden hull with carvings; big black sails with a Jolly Roger flag; warm golden light; wet decks; shining sunset reflections on the water; a few sharks near the ship. Ultra detailed, photoreal.
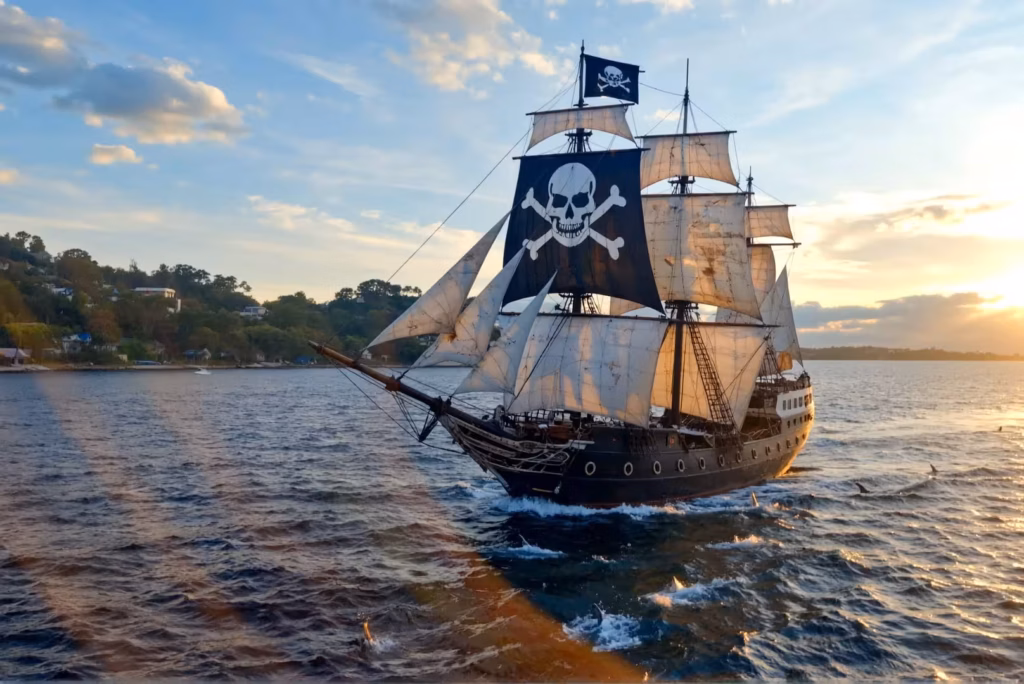
In the first group the water looked flat, no sharks showed up, and the sails didn’t feel convincing. The next group changed things — the sunset light started to glow, the sharks finally appeared, and the ship details came alive. By the last group, reflections sharpened, the background island and trees looked natural, and the whole picture felt like a phone snapshot of a film set. Not overly polished, but real enough that it works.
Demo 2 — Rainy Street Couple
Resolution: 720×1280
Prompt: A couple just off center in a glowing green side street lined with a ramen shop and a vending machine. The woman wears a pale-blue raincoat and leans her head on the man’s shoulder, smiling softly. Her hand holds the front of his jacket. He wraps one arm around her back, the other holding a transparent umbrella above them. He wears a dark blue hoodie with the hood down. Neon reflections and pink currents make color bands at their feet, with soft mist.
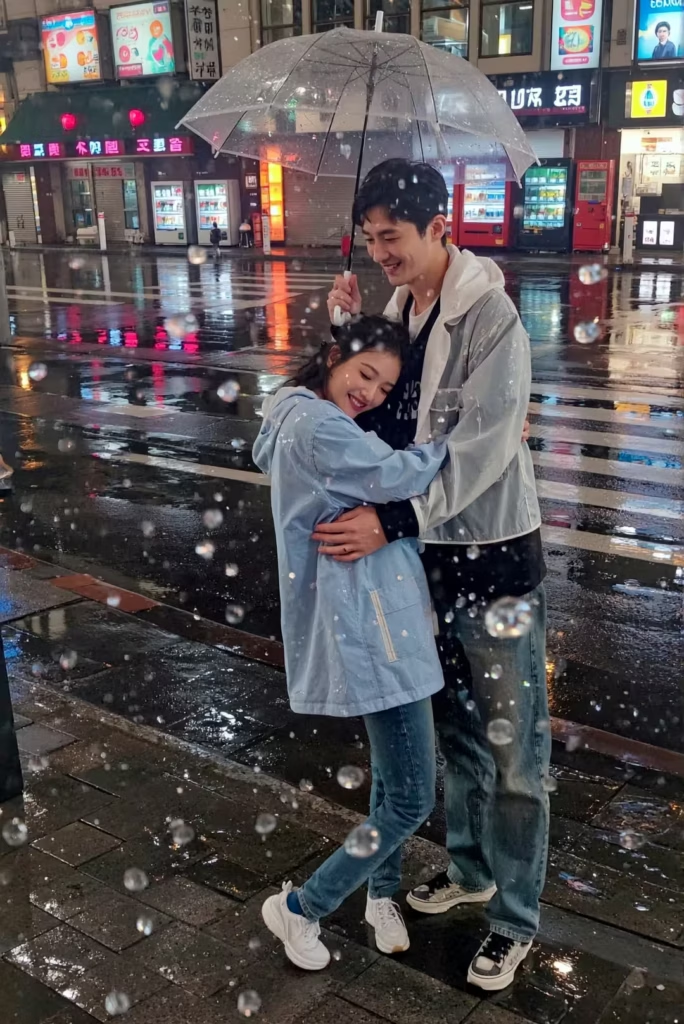
The first group blurred the faces and misplaced the umbrella. In the second, raindrops appeared, the umbrella corrected itself, and the mood shifted closer to a real rainy phone photo. The third group tightened everything: faces sharpened, the wet street glowed with reflections, and the ramen shop in the background looked alive. Show this to someone cold and they might just believe it’s real.
Demo 3 — Horror House
Resolution: 1080×720
Prompt: Photorealistic, cinematic: an abandoned three-storey house with overgrown plants at the edge of a foggy forest; cold bluish night; soft mist; broken windows; peeling paint; vines; rusted gate. One weak warm light flickers inside. Wet ground with small puddles and reflections. Low eye-level camera, ~35mm, shallow depth of field, like a horror movie still.
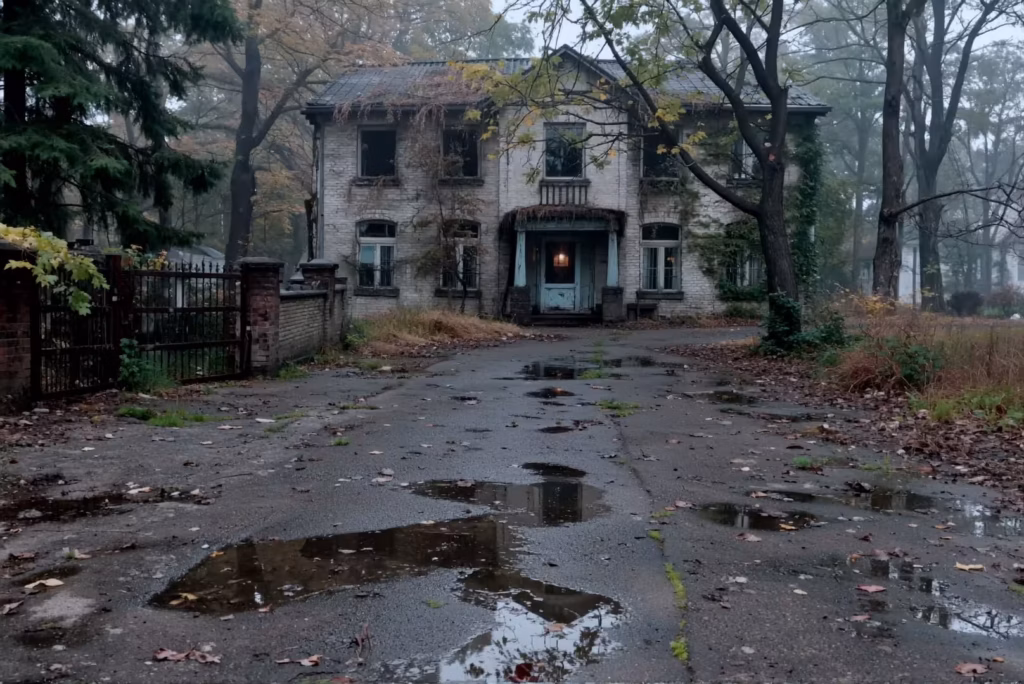
The first group gave a solid base: wet road, house, and the gate all visible. In the second, the atmosphere deepened — mist thickened, vines crawled up the walls, and the broken windows sold the haunted look. The last group fixed balance and textures: rust showed on the gate, the flickering light settled into the right spot, and the walls carried natural wear. It felt exactly like a still from a horror film.
Demo 4 — Battlefield
Resolution: 1080×720
Prompt: Photorealistic, cinematic: outdoor scene in falling snow near a stone castle; cloudy gray sky; a group of six to ten young soldiers with helmets and mixed armor standing in snow, holding swords and shields and a few old rifles; torn battle banners waving; cold focused faces; blood marks on arms; soft diffuse light; visible snowflakes; bright misty muddy footprints; scratched shields; white ground.
In the first group, flags and shields came through but faces were broken and the castle looked weak. The second made the armor sharper, blood more visible, and the castle believable, though faces were still off. By the third group, the environment looked real — snow, mud, shields, banners — but the soldiers’ faces stayed inconsistent.
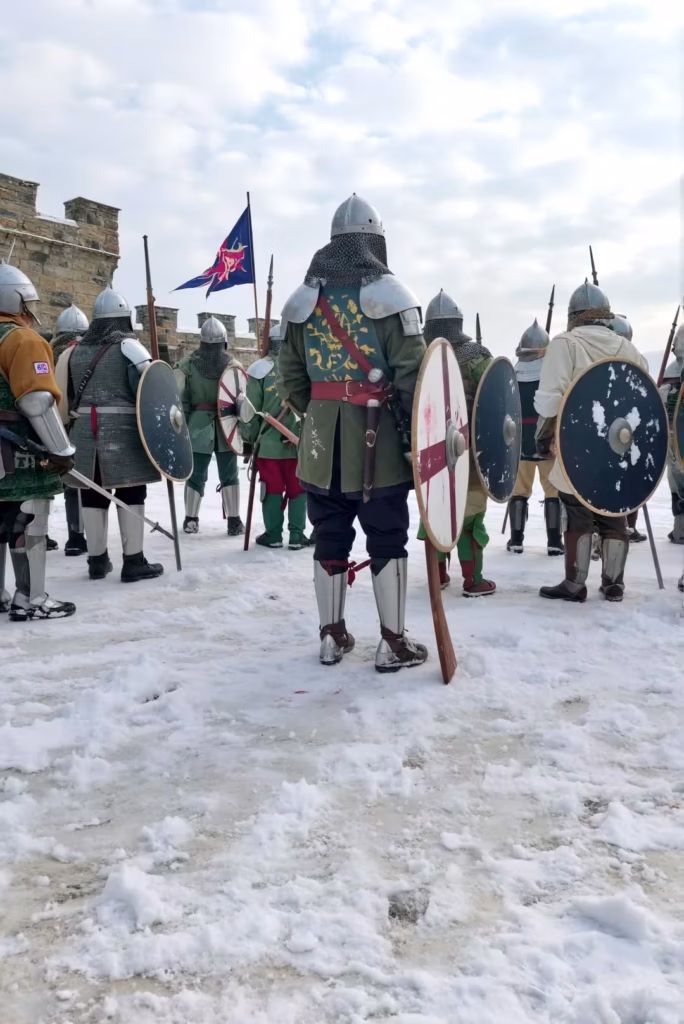
Tip: Switching resolution to 720×1080 and shifting the camera back reduced the face issue. The castle bricks, armor, and snow all stayed sharp, and from a distance, the soldiers looked natural.
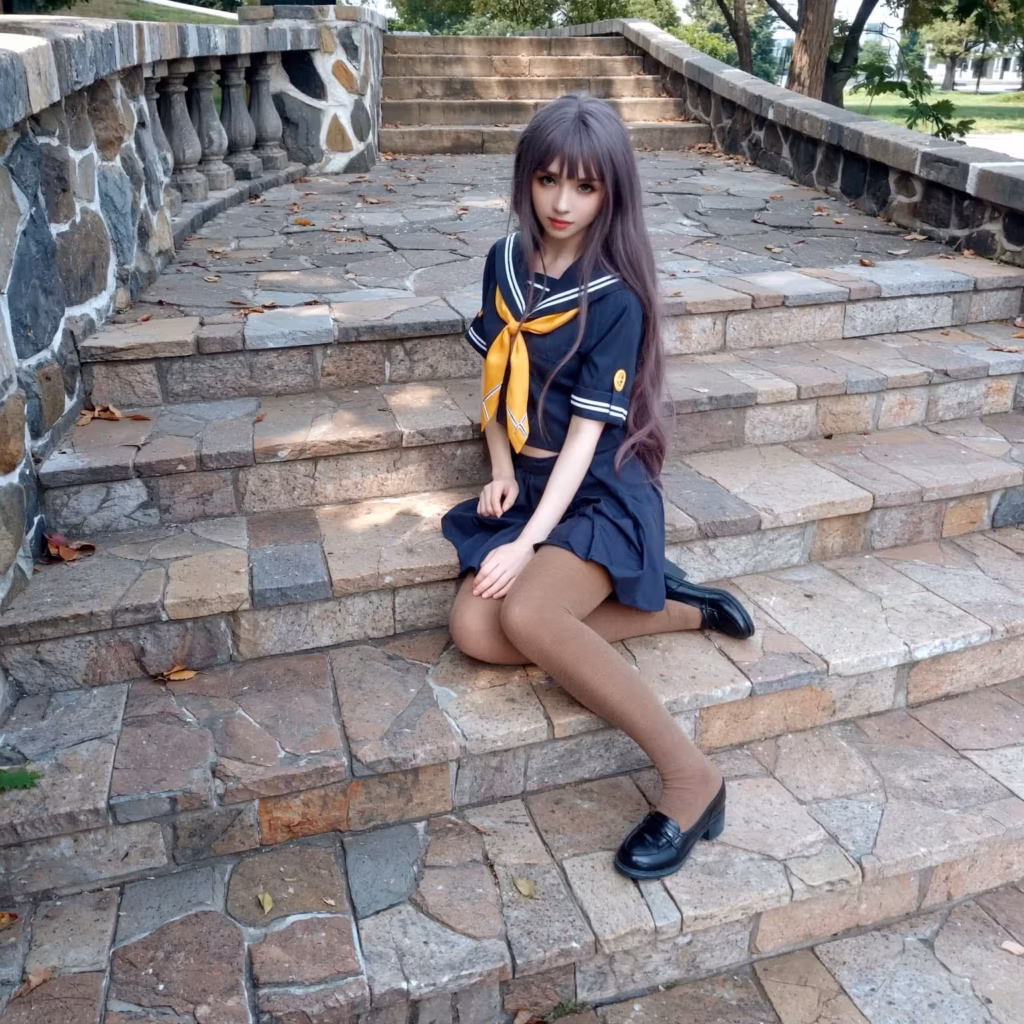
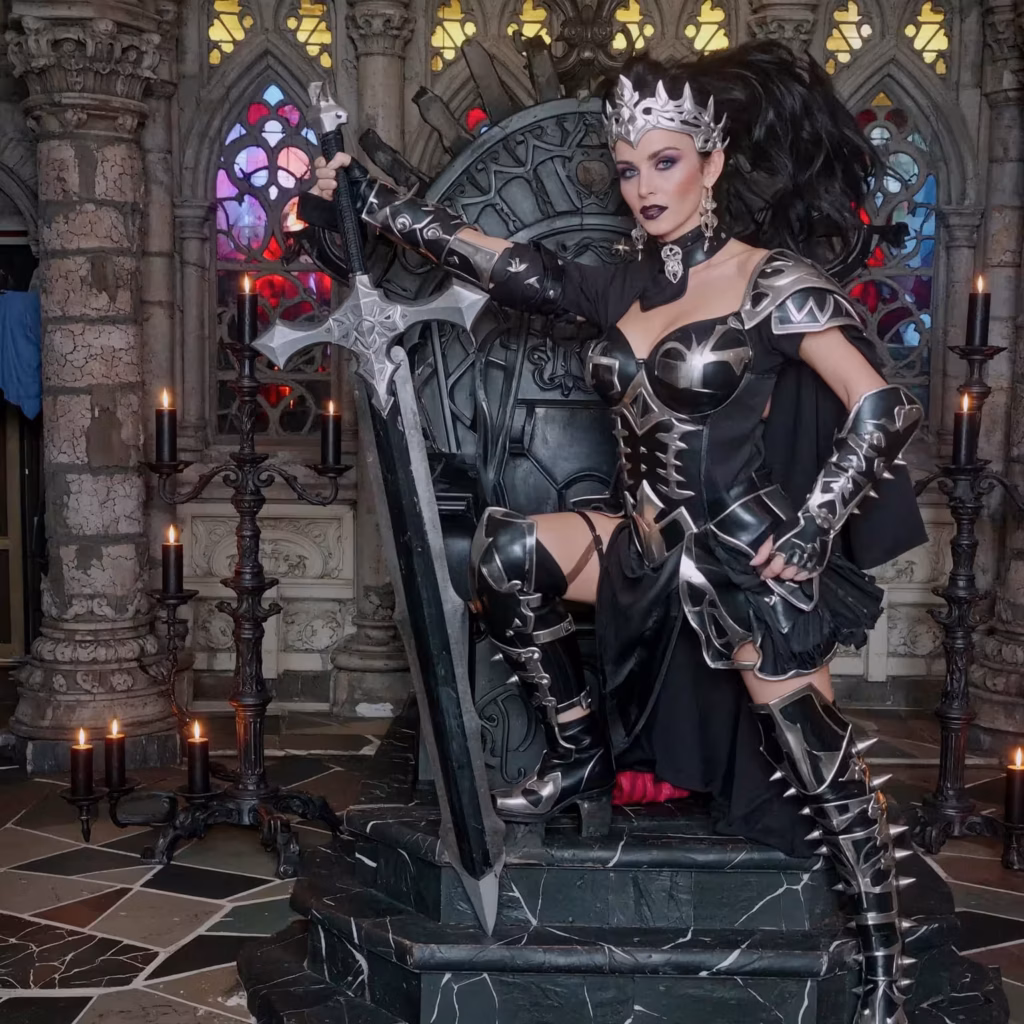
Demo 5 — Portrait and Fantasy Scene
Portrait (1024×1024): At first, the face was soft and unrealistic. The next group pulled it together — features aligned, and lighting felt right. In the final group, it sharpened further, and the portrait looked ready to pass as a candid photo.
Fantasy castle: Early groups missed details, but by the second and third, the scene came alive. Natural light washed over the castle, the figure sat believably, and it felt like a friend had snapped a photo in a dramatic old ruin.
i havent google, Hotmail, and Yahoo in our country. need opened link to download
“Sorry, File not found.” :(
Sign up with mail hotmail email not work. I get no verification email.
your email id verified, you can download any workflow
Esha, just sign up with gmail, waiting approve for the workflow. Thx a looooooot!
Hello. I am getting error:
ClownsharKSampler_Beta
mat1 and mat2 shapes cannot be multiplied (231×768 and 4096×5120)
what is wrong ;/?
Didn’t get any verification email….kindly help
hey where is the workflow? also signed with gmail and i havent received any email
I got no verification email for the workflow, what’s wrong?
Security check failed. Please refresh and try again.