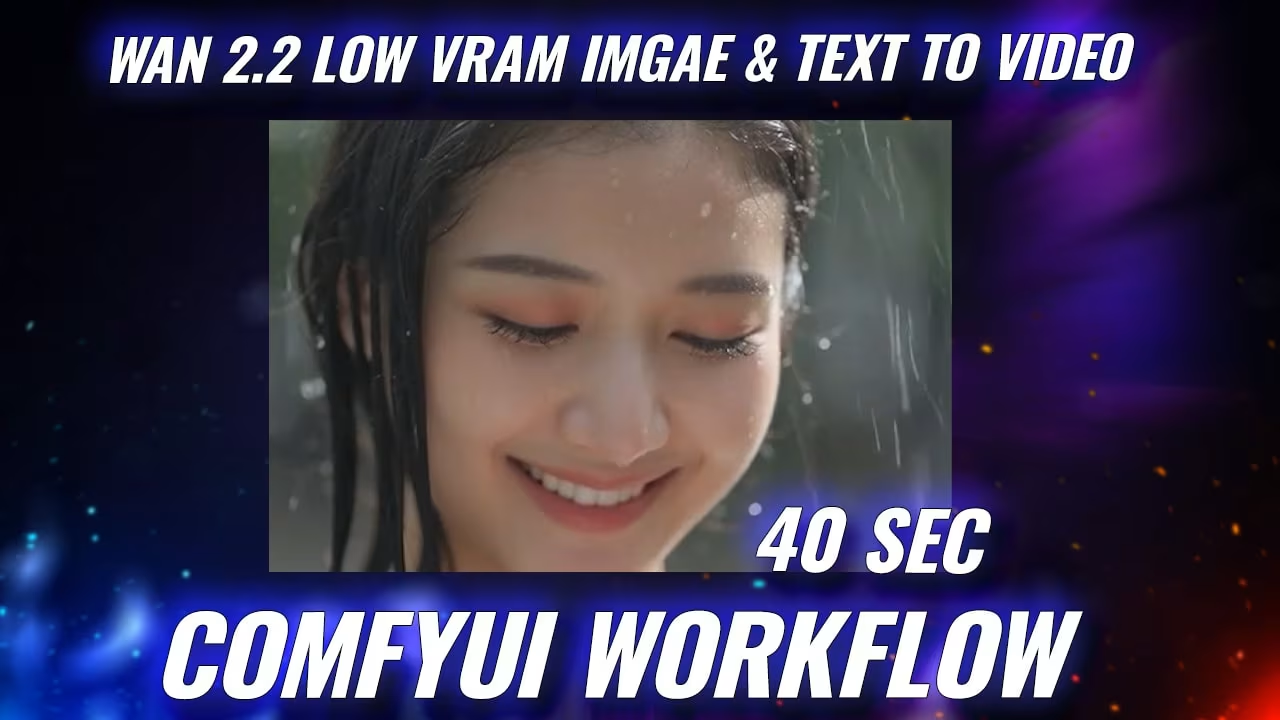
WAN 2.2 just dropped — and yeah, I had to test it. First thing I did was run a basic image-to-video generation using the FP16 version. That run? Took nearly 40 minutes. Brutal. But after a few small tweaks, I got that same workflow down to just 1 minute.
And the results? Way better than I expected.
So in this post, I’ll walk through everything I tested — including a side-by-side comparison of three models: the 14B FP16, the 14B FP8, and the newer WAN 2.2 Ti2V 5B. Same prompt, same settings. But very different results.
Setup First: What You Need
If you’ve used the older workflow, most of this will feel familiar.
The real change happens with the main model files. These go into ComfyUI/models/diffusers/.
This is where WAN 2.2 gets interesting. It uses something called Mixture of Experts (MoE). You’ve got two model versions now:
You can grab the repackaged WAN 2.2 models directly from Hugging Face.
Here’s how it works: for a 20-step generation, the first 10 steps use the high-noise model. It’s all about structure and motion. Then, the next 10 steps switch to the low-noise model — to sharpen texture and add detail. The switch happens automatically. You don’t need to configure anything .
And if you’re on limited VRAM? There’s a smaller file: wan2.2_ti2v_5B_fp16.safetensors. Only 10GB. This one supports both text-to-video and image-to-video.
Lastly, I tested a few runs using the lightx2v_14B_T2V_cfg_step_distill_lora_adaptive_rank_quantile_0.15_bf16.safetensors LoRA — which worked well for faster generations.
First Test: WAN 2.2 Ti2V Hybrid on Low VRAM
efore testing anything else, I updated ComfyUI and loaded the 10GB model. Text encoder was utm5_fp8, VAE was wan2.2_vae. LoRA was off, just to see the raw output.
I set resolution to 1280×704, prompt was basic, and ran it at 20 steps with CFG 5.
So I added PUCA V1 — it’s a LoRA that includes VTA, which helps with smoother motion. Same prompt. Same settings. Still 20 steps, CFG 5.
New render time: 1 minute 24 seconds.
Big difference. Rain and motion were smoother. The car animation felt much more alive.
So if you’re stuck with the 10GB model because of VRAM limits, PUCA V1 is a good fix. Doesn’t add any load, just improves realism.
What About Text-to-Video?
Same workflow. You just skip the Image-to-Video group, enter your text prompt, and go.
Hybrid Low VRAM Workflow Free Download
Image to Video High-Noise + Low-Noise: Full MoE Workflow
Now for the part I was most curious about — testing both high-noise and low-noise models together.
Inside the Load Models group, I added a tea_cache node. You’ll need to load two models here:
For the VAE, don’t use wan2.2_vae. It threw errors during generation. Just stick with the WAN 2.1 VAE — it worked without issues.
Here’s how the workflow runs:
The swap is handled internally using the Mixture of Experts system.
For this test, I disabled both tea_cache and LoRA. Just wanted a clean baseline.
Prompt and image were the same as before — a car on a rainy road.
Ran it on a 5090 with 32GB VRAM using the FP16 14B I2V model.
After the first 10 steps with the high-noise model, it took around 13 minutes. The result at that point still looked pretty noisy — which makes sense. That phase is just about getting the motion right.
Then the low-noise model kicked in for the final 10 steps. And this time? Everything came together — crisp textures, realistic lighting, even the windshield wiper moved naturally.
Full render time: 27 minutes.
Amazing quality… but that wait time? Not ideal.
How I Got That Down to 5 Minutes
I lowered the resolution to 720×480. That one change cut the render time to just 5 minutes and 50 seconds.
Visually? Still looked great. Barely lost any quality.
Then I switched from the FP16 model to the FP8 version — and that dropped the time slightly more: down to 5 minutes and 20 seconds. When I compared them side by side, I honestly couldn’t see much difference. At least not to the naked eye.
LightX2V LoRA Test — This One Surprised Me
Next up, I ran the LightX2V 14B LoRA again — but with just 4 steps. CFG set to 1.
The workflow was simple:
Total render time: 40 seconds.
And weirdly… it looked great. Better than I expected. Even side-by-side with the longer runs, the 4-step version held up.
Just to test, I pushed it to 20 steps using the same LoRA. That run took 3 minutes, and the detail definitely improved.
But when I showed both versions to a friend, they actually picked the 40-second one. Said it looked more natural. The longer one felt “too perfect.”
Kind of funny — but also a good reminder that sometimes faster = better.


Thank you!
Love your videos and thorough walk-throughs, links and workflows here. You make it all very simple to understand and try for ourselves.
Hi Esha,
Love your work! And what you’re giving to the community is truly remarkable!
I have couple of questions
What’s the minimum vram requirement for these model.. for both img to vid and txt to vid.
And on how much vram you ran the 10 gb model on which you got 1 mins 24 secs render time.
Thank you for your research, time and efforts.!
Thx can we get please a first and last frame with colormatch workflow for wan 2.2
Good afternoon, tell me where to download lora wan2.1 light2v_14B_T2v_cfg_step_distill_lora_adaptive_rank_qvantile and to which package does LayerUtility belong: PurgeVRAM V2, are the ComfyUI_LayerStyle and СomfyUI_LayerStyle_Advance packages installed?
Thank you for your hard work!!! These are the best workflows to date!I wish you good luck in your work!!!
Thank you for your hard work!!! These are the best workflows to date!
It keeps saying connections error occurred
Pleased if
Thanks for your effort, but when I loaded it into comfyui I got the message that following nodes types are missing Wan22ImageToVideoLatent,
CreateVideo,
SaveVideo”,
I am a beginner, any advice?
danke.komme aber auch nicht weiter immer dieser fehler: Prompt execution failed
Cannot execute because a node is missing the class_type property.: Node ID ‘#126’
whare is the work flow
this download link dont work.. giving my mailadress for nothing?