


I built two tiny ComfyUI workflows for FLUX with USO. One workflow copies the look from any style image. The other keeps the same face while you change styles. Both are fast and easy.
What you can do
- Use any image as a style reference and generate a new image in that look
- Keep the same face across different styles
- Work with photos, cartoons, icons, paintings
- Generate Result in about three seconds if you use EasyGet v2
A video tutorial demonstrating USO ComfyUI Workflow guidance.

What is USO
USO means Unified Style Subject Optimized. It is a ByteDance model on top of FLUX.1 dev. It can read your content image for the face and your style image for the look. It learns both things in one system and uses CLIP Vision for reading the style.
Files you need
Put these four files in the right folders.
- FLUX FP8 checkpoint flux1-dev-fp8.safetensors
Folder:ComfyUI/models/checkpoints - USO LoRA file: uso-flux1-dit-lora-v1.safetensors Fixed
Folder:ComfyUI/models/loras - Model patch uso-flux1-projector-v1.safetensors
Folder:ComfyUI/models/model_patches - CLIP Vision file sigclip_vision_patch14_384.safetensors
Folder:ComfyUI/models/clip_vision
Note: This FLUX checkpoint already includes CLIP and VAE. You do not need a separate text encoder or VAE.
Pick flux1-dev LoRA v1 in the node.
I also add EasyGet v2 so quick runs finish fast.
Workflow 1: Style Reference only
Goal Upload one style image. Get output in the same look.
If you want the same size as the subject, connect Load Image to Resolution Master, If you want a custom size, disconnect and set any size
Examples
Manga line art

Style has clean ink lines and cross hatching. Prompt: woman walking in the street. Size 1024 x 1024. Output matches the lines and the hatch.

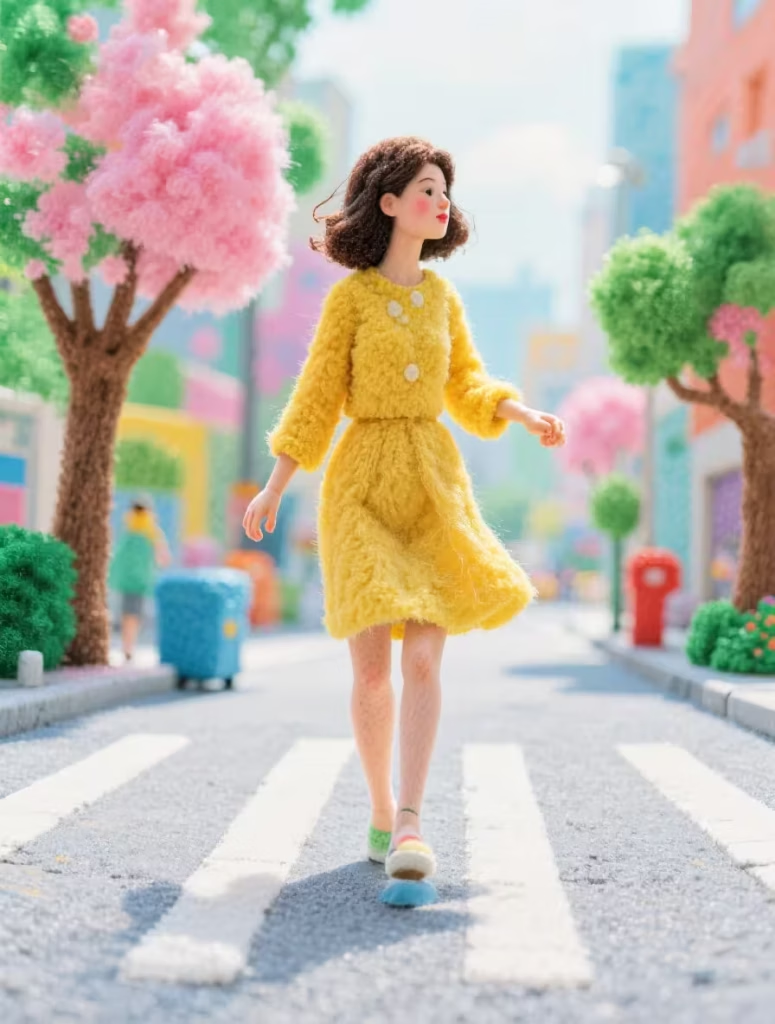
Needle felt wool

Style is soft and fuzzy. Same prompt. Size 896 x 1184. Output shows wool texture on hair, face, and background.

Flappy app icon sheet
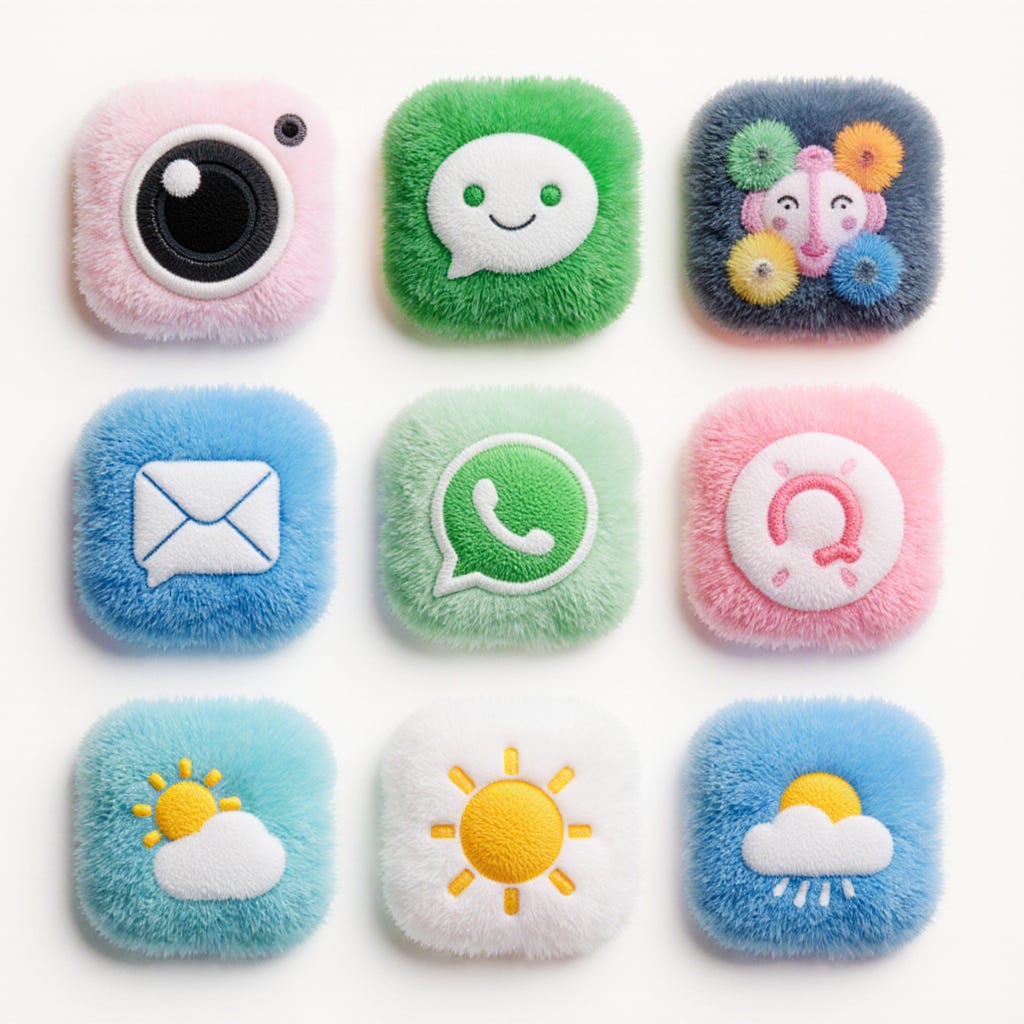
Bright colors like green and pink. Same prompt. You get a clean app icon look, same palette, same vibe.
Workflow 2: Subject + Style Reference
Goal Keep the same face while you change styles. Works with photos and cartoons.
Guidance tip for FLUX
- Short prompt: set guidance around 4 to 4.5
- Long prompt: lower to around 3 to 3.5
- Stay in this range for stable results.
Examples
No style, same face

Prompt idea: same face as reference, short hair, cozy coffee shop, warm window light, soft background. Size 1184 x 896. You get the same face with a calm café mood.

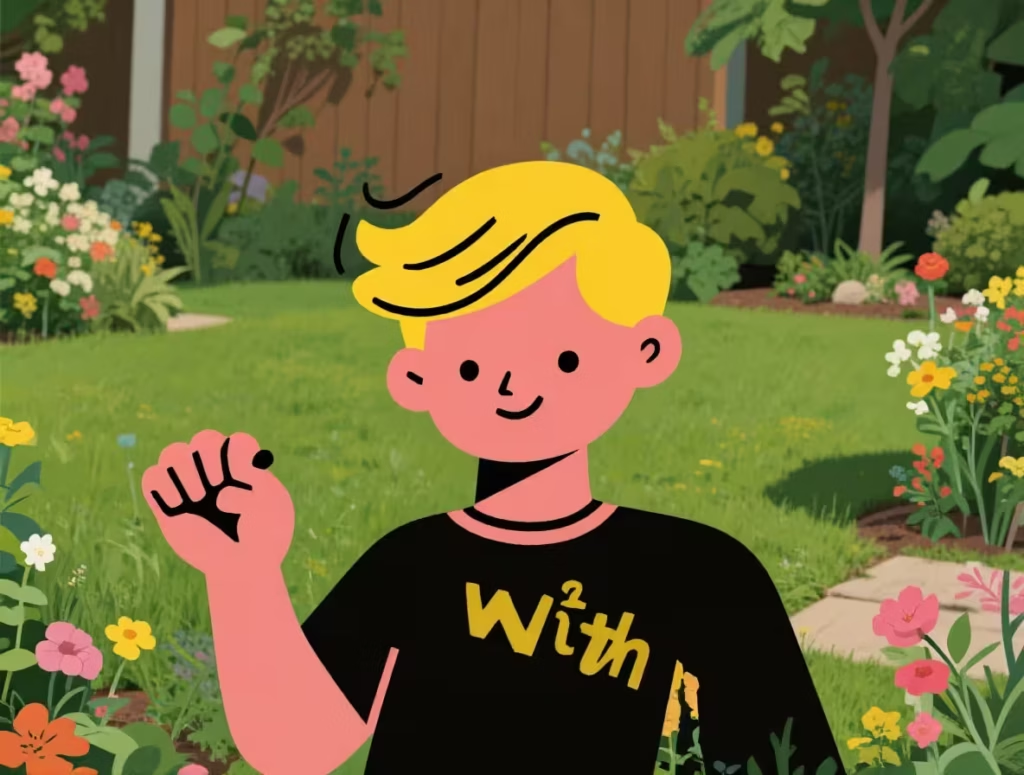
Cartoon subject

Subject is a 2D character. Prompt: same face as reference, playing in the garden. The model even keeps small details like a T shirt logo from the subject.
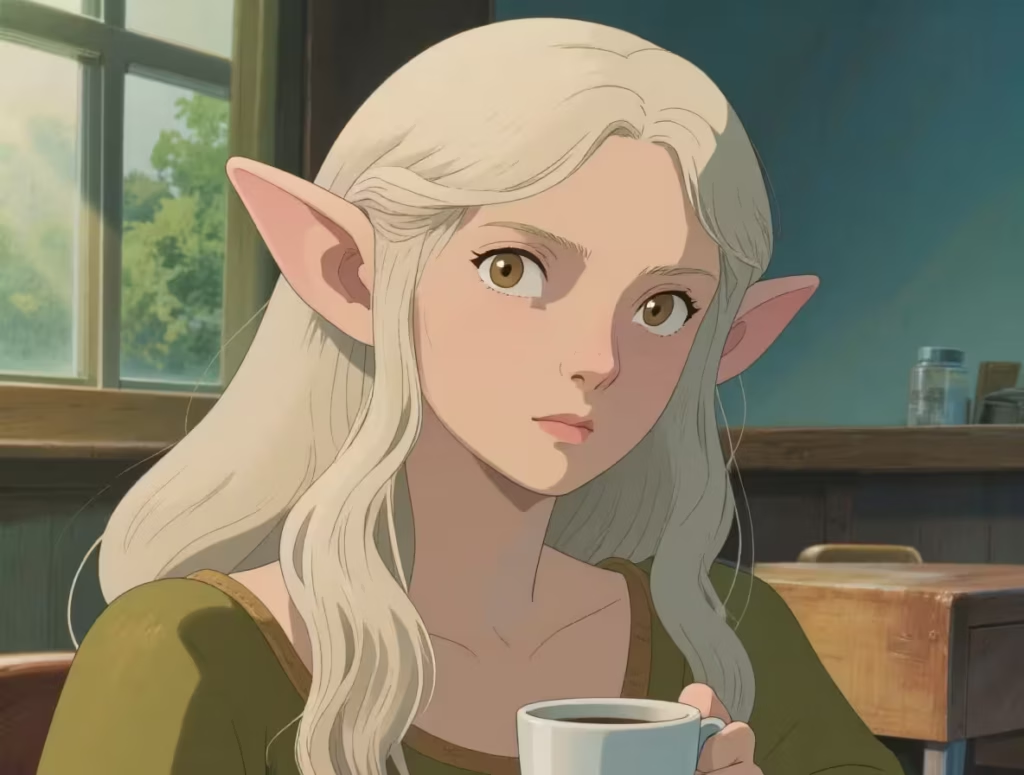
Ghibli style with the same woman


Upload a Ghibli style image. Bypass old style group. Run. Face stays the same. If the scene does not read as a café, increase size to 1344 x 768 and add to prompt: holding a mug with both hands, cozy café, warm light.
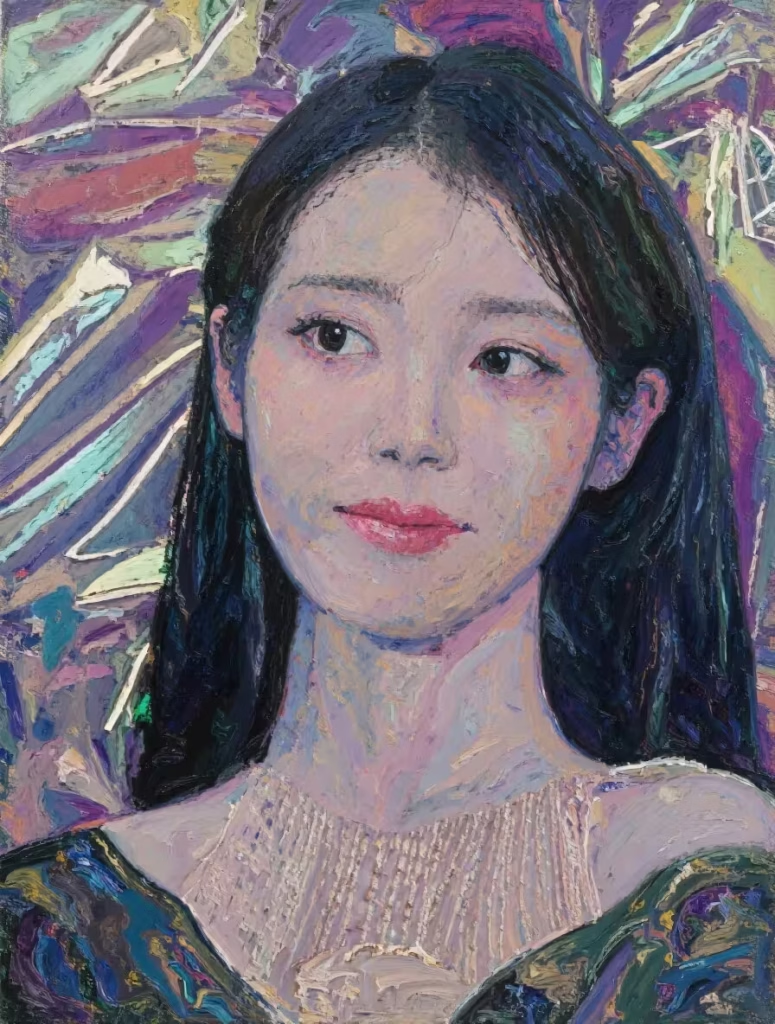
Starry Night painting


Connect Load Image to Resolution Master to match subject size, around 785 x 755. Upload the Starry Night style image. No prompt is fine if you just want a painting look. Optional tiny prompt like woman in the park will also work.
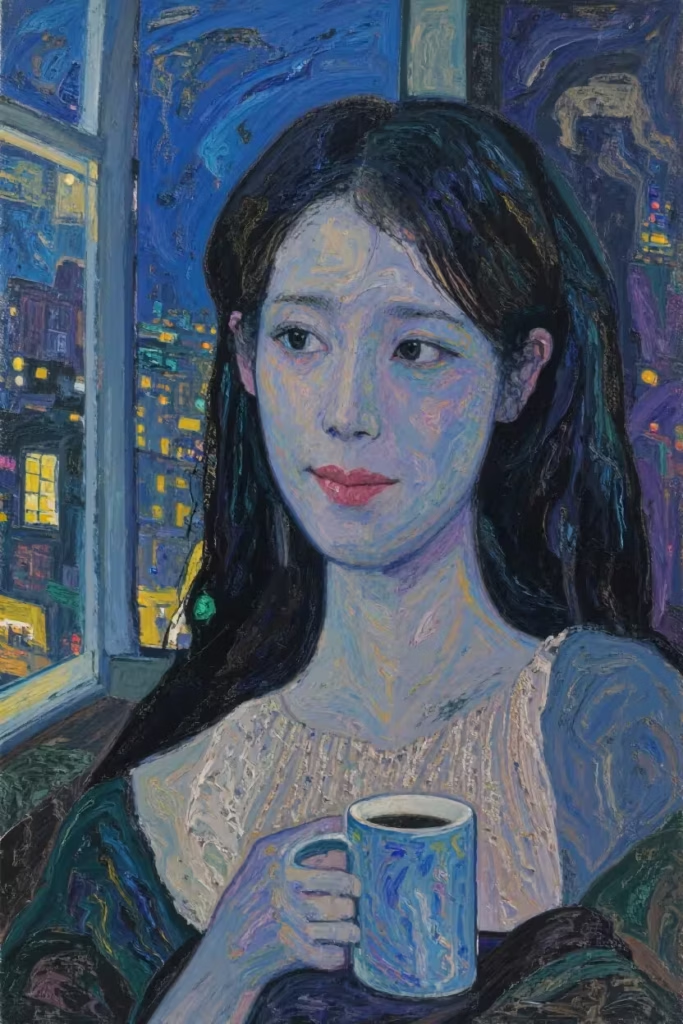
Oil style by the window
Change size to 832 x 1248. Prompt idea: same face by the window with a mug, city lights outside, composed. You get oil on canvas feel, a mug in hand, and city lights in the background.
Line art manga and line art in 3D


Size 785 x 788. Tiny prompt: line art. Clean manga lines. For a 3D push, upload a 3D character as second reference and prompt line art in 3D. Lines pop with shaded 3D feel.

Blend wool texture with 3D


Upload a soft wool texture toy as style and a 3D character as second reference. Prompt: same face, wool texture with 3D style. Output keeps the 3D form and adds wool fibers. Looks more tactile.


USO LoRA file: uso-flux1-dit-lora-v1.safetensors
Folder: ComfyUI/models/loras
Model patch uso-flux1-projector-v1.safetensors
Folder: ComfyUI/models/model_patches
both files are same lora and patch??
Sorry about that! Please check now, it should be fixed
Lora patch not correct
Thankx for update fixed it