


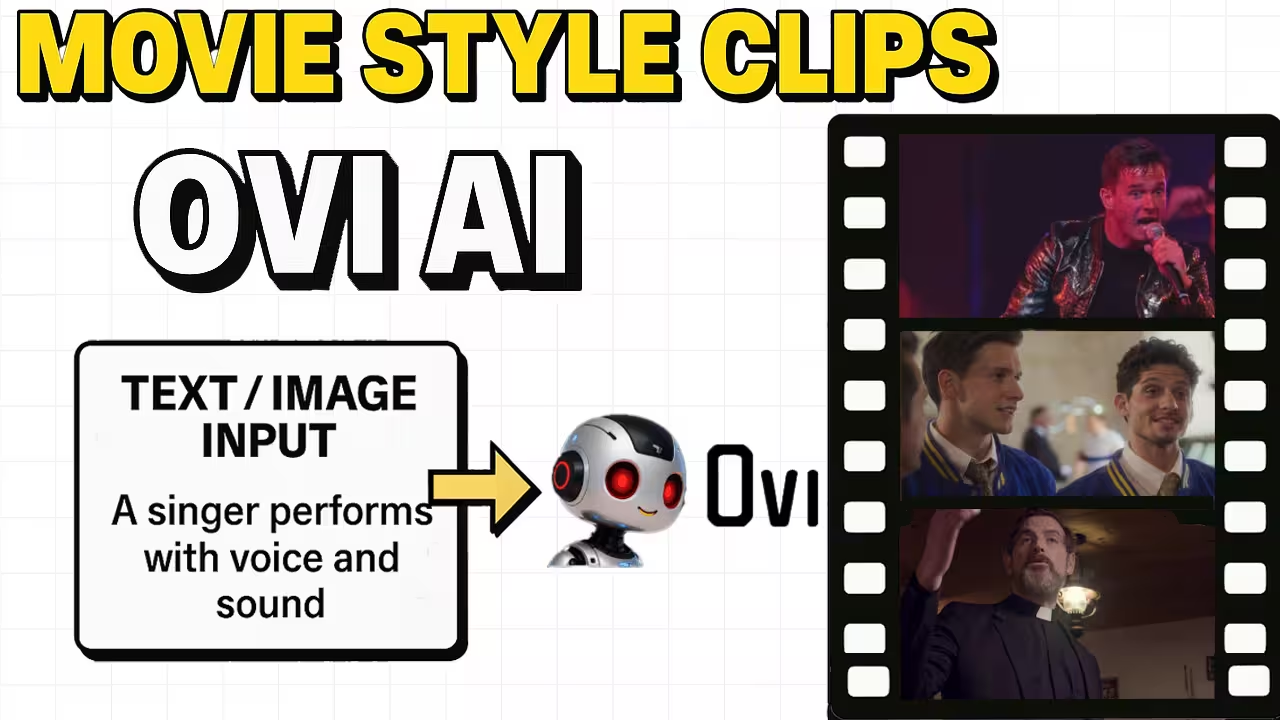
I recently tested the OVI workflow inside ComfyUI, and the result honestly feels next level. OVI is a new video plus audio generation model from Character AI that creates short, movie-style clips with voice and background sound, all from a single text prompt.
In this guide, I’ll show you exactly how I installed it, fixed the missing nodes, downloaded the model files, and generated my first 5-second video. You can follow the same steps and get the same results on your own setup.

What Makes OVI ComfyUI Special
The OVI model combines both video and audio generation in one engine. It uses a twin backbone design to keep visuals and sound perfectly in sync. You can input just text or a mix of text and an image, and it will produce a 5-second clip at 24 frames per second.
The most impressive part? The voice actually matches the lip movements, and the background sounds flow naturally with the camera motion. You can create short cinematic clips with music, dialogues, and ambient sound — all inside ComfyUI.
Step 1: Installing the OVI Workflow in ComfyUI
I started by uploading the workflow JSON file into my ComfyUI workspace. The first time you open it, you’ll likely see some red nodes. Don’t worry — that just means a few custom nodes are missing.
To fix it:
- Click Manager on the top bar.
- Select Install Missing Custom Nodes.
- Wait until all missing nodes are installed.
Once this step is done, you’ll see a node named OVI Engine Loader. That confirms your setup is successful.
Step 2: Files You Need to Download
To make OVI run properly, you need a few specific model files. Here’s what I downloaded:
ComfyUI/
  models/
    diffusion_models/
      Ovi-11B-bf16.safetensors   or   Ovi-11B-fp8.safetensors
    text_encoders/
      umt5-xxl-enc-bf16.safetensors
    vae/
      wan2.2_vae.safetensors
  custom_nodes/ComfyUI-Ovi/ckpts/MMAudio/ext_weights/
      best_netG.pt
      v1-16.pth
Download Links:
- Ovi-11B-bf16.safetensors
- Ovi-11B-fp8.safetensors
umt5-xxl-enc-fp8_e4m3fn.safetensorsumt5-xxl-enc-bf16.safetensors- VAE File
- MMAudio Weights
Save each file in the correct folder under your ComfyUI directory.
Step 3: Choose the Right Model for Your GPU
When I tested it, I found there are two main model builds you can choose from.
The FP8 version is around 11.7 GB, and it works well on GPUs with lower VRAM.
The BF16 version is larger, about 23 GB, and it’s ideal if you have a 24 GB card or higher.
If your GPU doesn’t have much VRAM, just turn CPU Offload to True in the OVI node settings. That way, it still runs smoothly even on 12 GB or 16 GB cards.
Step 4: Configuring Attention and Resolution
When you open your workflow, look for a node called OVI Attention Selector.
It’s the section that decides how the GPU manages attention during generation.
If your comfyui doesn’t have Seg-Attention, don’t worry — just leave it on Auto. It works fine like that.
But if you already have Seg-Attention installed, go ahead and turn it on. You’ll see the render move a bit faster, and it feels smoother overall when generating clips.
For my tests, I found that using around 50 steps gives the cleanest and most detailed results.
If your GPU has limited VRAM, you can bring it down to 30 to 36 steps — it still looks good, and you’ll save a lot of time.
When it comes to resolution, I’ve tested quite a few combinations.
The one that usually works best for me is 720 by 720. It keeps the quality high and performance stable.
You can try others like 960 by 540 if you want a wider frame, or 540 by 960 if you’re making vertical videos.
Just stay close to that range, and you’ll get consistent results without your GPU struggling.
Step 5: Writing Prompts for OVI
Honestly, this is the part where OVI feels truly amazing. You just write what you want to see, and it understands the whole scene. You can even add voices or background sounds right inside your prompt.
It uses two simple tags.
The first one is S tag, that’s where you put the spoken line.
The second one is Audio Cap tag, where you describe the background sound you want to hear.
Here’s one of the prompts I tried:
I wrote,
A singer performs on stage under red and purple lights.”
Then inside the tags, I added the dialogue: “I’m alive on this stage tonight!”
For sound, I wrote “electric guitar riff with a cheering crowd and echoing voice.”
When I ran it, OVI generated a small concert clip. The singer actually said the line, and the crowd reacted perfectly in sync with the lights and music.
Step 6: Running the First Example
When I ran my first test, I started with the FP8 model. I wanted to see how it handled strong emotion, so I wrote a simple scene a man sitting in a dark interrogation room, slamming the table as he shouts, “They are out of control!” I also added a short sound description about the metal chair scraping and the echo bouncing off the walls.
When the clip finished, I was honestly amazed. The lips moved exactly with the voice, and that metallic echo really sounded like it came from a closed room. Every frame had that cinematic lighting you usually see in movies.
Step 7: Image-to-Video in OVI
You don’t have to start with text. OVI ComfyUI also works nicely when you begin with a single image. I connected the Load Image node to the First Frame Image input and dropped in a photo of three college students.

I kept the prompt simple. I wrote one clean line about the scene: three young men in blue and yellow jackets standing together at a small social gathering. I used a short-spoken line, “The network rejects human command.” For background I put soft chatter, light music in the back and a few distant laughs.
After I hit generate, it looked real. Faces of the men stayed clear. Expressions also look natural. The voice matched the lips from start to finish.
Step 8: Advanced Example with Dialogue

Next, I uploaded a image of a man in a black suit with a white collar and used:
A man with a trimmed beard stands in a dreamy lift.
<S>Your age of power is finished.<E>
<AUDCAP>Lift chime, echoing voice, soft synth sound<ENDAUDCAP>
The output again looked cinematic where smooth motion, sharp face, natural lighting, and perfect lip sync.
Each clip took about 2 minutes 30 seconds to generate at 50 steps on my RTX 4090 (FP8 mode). The voice quality was clean and realistic.