


Back when I first tried anime image generation, I expected it to be heavy on VRAM.
But Neta Lumina surprised me.
This model runs on less than 6GB of VRAM and was trained on 13 million anime-style images. That means it understands the unique look and tone of anime art — without feeling like a generic diffusion model.
And here’s the thing:
It uses the Gamma 2B text encoder, which is six times faster than T5-based encoders.
It also supports English, Chinese, and Japanese prompts — with accuracy that makes it perfect for anime generation.
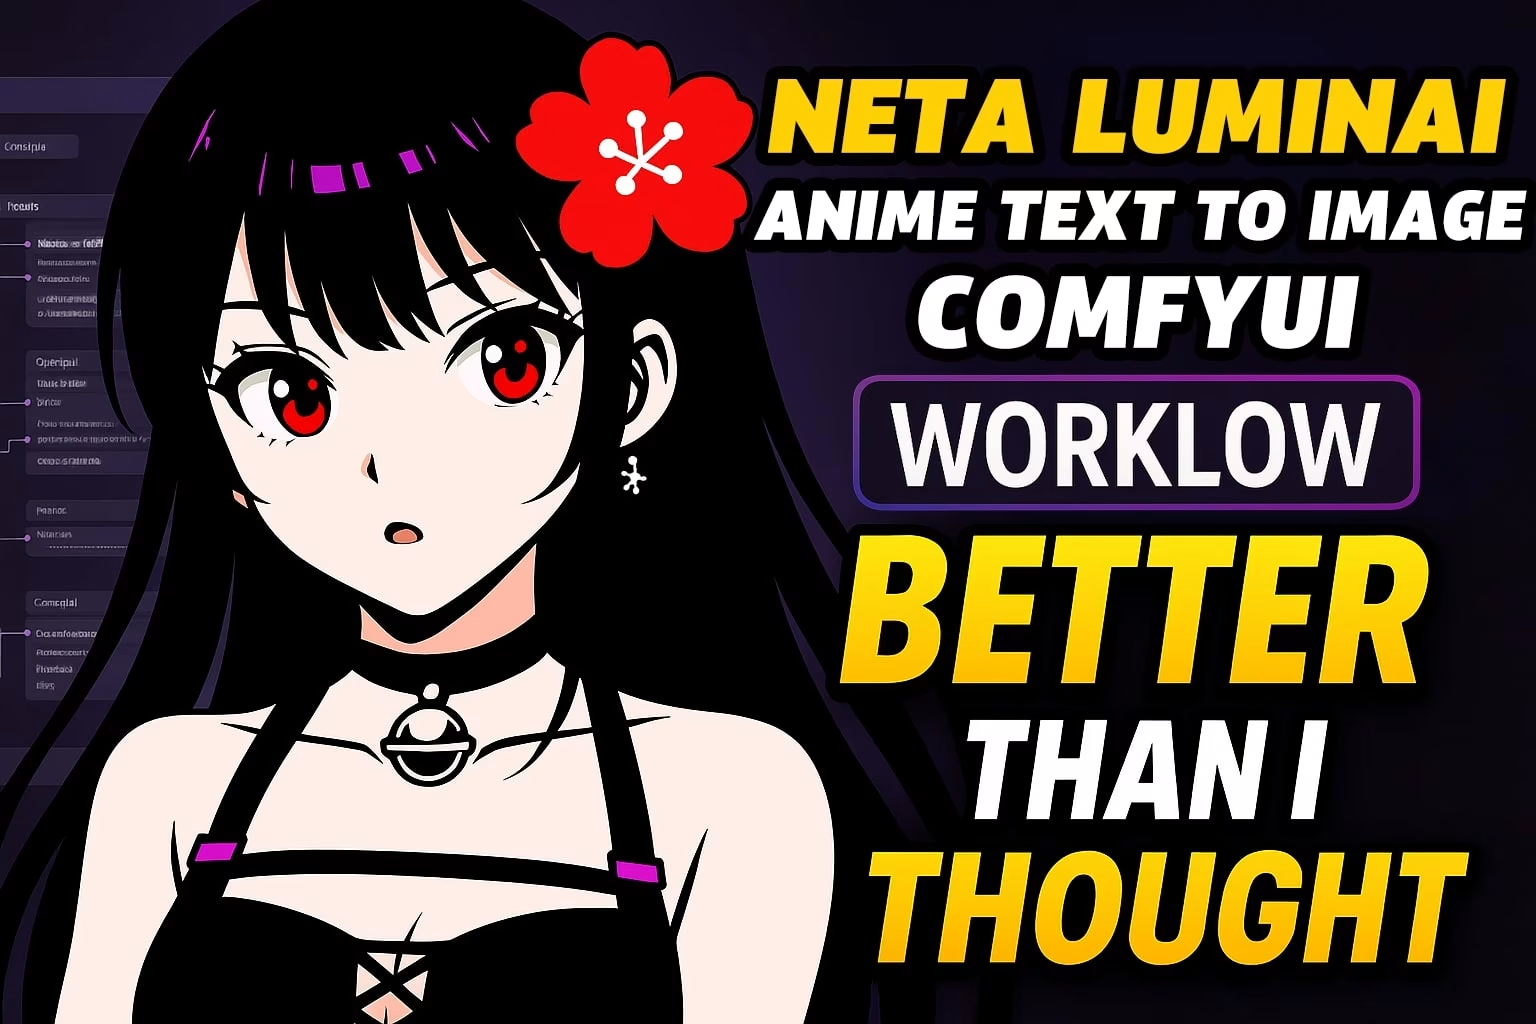
Getting Neta Lumina Running in ComfyUI
I wanted to test it inside ComfyUI. So I built a simple workflow — just the basics — and planned to refine it if the output wasn’t good.
Here’s the setup I started with:
With those in place, I connected everything and prepared the first test.
But to run this workflow, you need three files:
Once the files were in the right folders, I was ready.
The Prompt Format That Works
This model doesn’t respond well to plain text. You have to start with:
You are an assistant designed to generate anime-style images based on text prompts.
I didn’t want to copy this line every time, so I used two Text nodes:
This made the workflow cleaner — and reusable.
How I Built the Perfect Anime Prompt
Even with the correct format, plain English wasn’t enough.
Neta Lumina needs tag-based prompts, similar to models on CivitAI.
Here’s the tag structure I used:
The final prompt I tested:
1cat, anime, blue eyes, cute expression, soft lighting, window light, best quality
I left the camera tag out — letting the model decide framing.
This time, the image rendered beautifully. A clean, anime-style cat — exactly what I wanted.
Why Negative Prompts Matter
One mistake I made early on was skipping negative prompts.
The results looked blurry and lacked clarity.
Here’s my negative prompt list:
low quality, bad anatomy, extra fingers, blur, watermark, bad proportions, text, error, worst quality
Adding Flux for Better Detail
Flux acts like a post-processor, adding texture and depth where the base model struggles.
Here’s what I did:
The difference was immediate:
Flux turned rough sketches into polished frames that felt ready for use in a scene.

Why This Workflow Works
The combination of Neta Lumina for base anime structure and Flux for final detail passes makes this workflow powerful.
You get:
Final Thoughts
The combination of Neta Lumina + Flux is perfect if you’re aiming for anime-style cinematic art: