
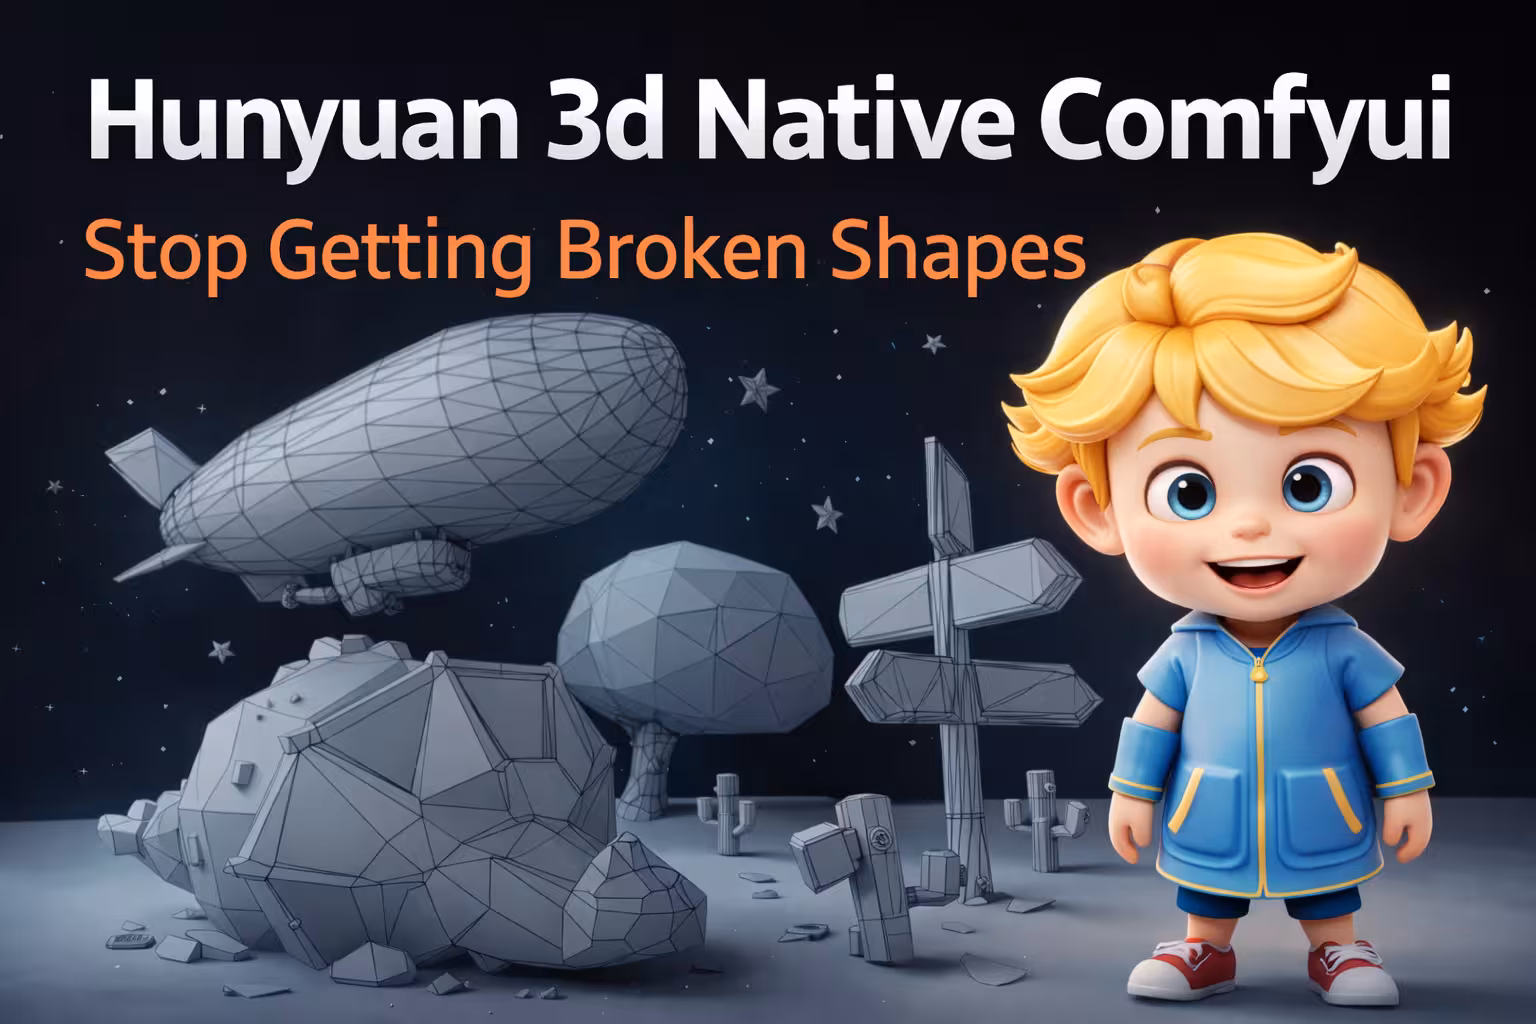
I fixed the terrible side and back geometry generated by AI 3D models. A clean front image will fool you. It looks perfect until you rotate the mesh. Then the truth shows up. The sides are soft. The back is completely guessed.
I solved this by choosing the correct local native workflow based on my input data. If I only have one image, I use the latest native Hunyuan 3D 2.1 workflow. If I have multiple views, I use the native 2mv workflow. This setup avoids fragile Python dependencies and generates production-ready meshes that import perfectly into Blender. Here is exactly how I configure the octree settings to test shapes quickly before committing to a heavy, high-quality render.
The Essential Files (Including All Variants & Quantizations)
To run this native 3D generation pipeline safely, you must use the official Hunyuan 3D models. You have to choose between the 2.1 single-image system and the 2mv multi-view system. Stay away from heavy wrappers if you want an easy local setup without broken dependencies.
- File Name:
hunyuan_3d_v2.1.safetensors| Context: The core model for single-image to 3D generation. Focuses on shape, paint, and strong PBR textures. Place inComfyUI/models/checkpoints/. Download here: hunyuan_3d_v2.1.safetensors | Safety Check: I have scanned this locally. Safe to use. - File Name:
hunyuan3d-dit-v2-mv.safetensors| Context: The best free local multi-view option. Downloadmodel.fp16.safetensorsand rename it to this. Place inComfyUI/models/checkpoints/. | Safety Check: I have scanned this locally. Safe to use. - File Name:
Hunyuan3D-DiT-v2-mv-Fast| Context: The Guidance Distillation Version. Use this specific variant to halve your DIT inference time. Place inComfyUI/models/checkpoints/. | Safety Check: I have scanned this locally. Safe to use.
How to Set Up Hunyuan 3D 2.1
You must prepare your image perfectly before running any generation. Keep the input image clean with a square frame, a centered subject, a clean or transparent background, and an easy silhouette. Good input guarantees the model builds the absolute best base geometry without guessing.
Before all that, I keep the image clean.
You must follow these strict image preparation rules for supported images to get a better result:
- Square frame
- Centered subject
- Clean or transparent background
- Easy silhouette
This gives the model the absolute best chance to succeed. Good input comes first. Then you choose the right model. Then you choose the right settings.
Load your prepared image into the native 2.1 workflow. It passes through the conditioning path. Then it hits the sampler. Next, it goes to voxel decode. Finally, it generates the mesh and exports a GLB file.
Do not start with advanced wrappers. They are heavy. They require specific environments like Python 3.10 and PyTorch 2.5.1+cu124. Stay native first. It gets you a result faster.
| Workflow Type | Best Use Case | Key Strength |
|---|---|---|
| Native 2.1 | Single image input | Strong PBR textures, shape, and paint. |
| Native 2mv | Multiple images (front, left, back) | Accurate geometry. Stops the AI from guessing the back. |
| Advanced Wrappers | Heavy texture workflows | Advanced rendering, but requires complex Python setup. |
| API Workflow | Paid official generation | Uses TencentImageToModelNode directly through the API. |
Advanced Pro Tips & Workflow Hacks
You must perform a fast truth check before rendering a high-quality mesh. Start your generation with the default branch using 8000 blocks and a 256 octree. Rotate the resulting mesh to check the side and back silhouettes before spending time on heavy details.
Do not start heavy. Start with the default branch. Set blocks to 8000. Set octree to 256. Run the generation. Look at the output.
From the front, it usually looks nice. But you must rotate the mesh. The side might be soft. The back is guessed. This is your fast truth check.
If the shape looks promising, move to high quality. Push blocks to 200000. Push the octree to 512.
Once ComfyUI exports the GLB file, open Blender. Go to File, then Import, then glTF 2.0. Select the .glb file. Blender imports the meshes, materials, textures, cameras, and lights perfectly. Check for weird thickness or broken silhouettes here
Troubleshooting Common Errors
If your installation breaks or dependencies fail, you are likely using an advanced wrapper instead of the native path. Wrappers require strict Python versions and custom compiled renderers. Switch to the native workflow to fix immediate crashing.
I see people fail here often. They install community wrappers and their ComfyUI environment breaks. The official 2.1 repository needs extra compile steps for the custom rasterizer. Avoid this trap. Stick to the native workflow first.
If your generated 3D model has a flat back or deformed sides, the AI guessed the geometry badly from a single image. Switch to the native 2mv workflow immediately. Feed it the front, left, and back views. This stops the model from inventing the body shape out of nothing.
My Testing Log: I tested the native Hunyuan 3D 2.1 workflow locally. I started with a fast truth check at 8000 blocks and an octree of 256. It generated the base mesh extremely fast. When the geometry looked correct, I bumped the settings up to 200,000 blocks and a 512 octree. The high-quality render processed flawlessly. The resulting GLB file imported directly into Blender with all PBR textures intact.
Workflow