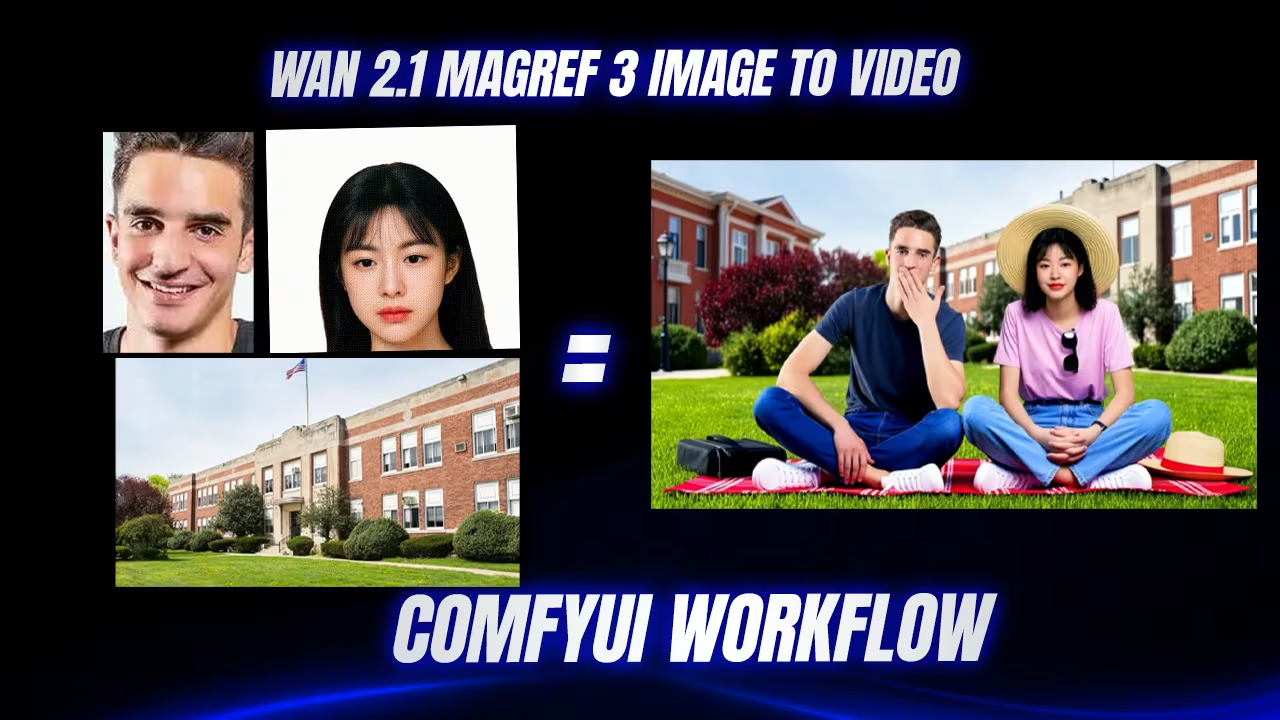
Creating a Comfyui Workflow For AI image to video model called MAGREF. From what I’ve seen, it’s pretty exciting. Let me walk you through how it works and how to set it up in ComfyUI.
What is MAGREF?
MAGREF is designed for image-to-video generation , which means you upload an image — typically a face or full-body character — and the model generates a smooth, animated version of that person moving, talking, or doing whatever action you describe in your prompt.
And here’s what makes it stand out: unlike other models I’ve tested before, MAGREF keeps facial details extremely consistent throughout the entire animation. So if you upload a picture of your dog, you get a moving video of your dog — not a slightly off version that looks like a cousin twice removed.
Models Links
Before jumping into the UI, let’s talk about the model itself.
There are three versions available for download: FP16 , BF16 , and FP8 . Pick the one that works best for your system, and drop it into your diffusion models folder.
Another key component is the LoRA file I used in this workflow — WanX 21 – LightXV .
Using this LoRA, you can generate high-quality results in just five steps .
Yes, five steps.
No long waits, no heavy resources — lightning-fast generation without sacrificing quality.
As for the VAE and text encoder, they remain the same as those used in our previous workflows.
You can find the required model files below:
- Wan2_1-Wan-I2V-MAGREF-14B_fp8_e4m3fn.safetensors
Download Link - Wan2_1-Wan-I2V-MAGREF-14B_quanto_bf16_int8_pure.safetensors
Download Link - Wan21_T2V_14B_lightx2v_cfg_step_distill_lora_rank32.safetensors
Download Link
Make sure to save these files in your diffusion models folder after downloading. and lora file lora folder of comfyui
WAN 2.1 MAGREF Workflow
When you open the workflow, look for the section labeled “Wan Video Lora” — I’ve already selected the LoRA model there.
In the Wan Video Model Loader , make sure to select the MAGREFF model based on your system’s VRAM.
For the best results when using this LoRA, I recommend:
And don’t forget to select the LCM scheduler for optimal performance.
Understanding the Resize Options
One thing you’ll want to understand is the “keep_proportion” setting in the Resize Image node.
Sometimes, you might not get the exact output you’re aiming for, so you can switch the mode to either “pad” or “stretch” .
Try both options and see which one gives you the best result for your specific image.
Adding a Background – Here’s the Hack
Now, you might be wondering: can I add a background image too?
Technically, the workflow doesn’t support a third input directly — at least not in the standard setup.
But here’s a workaround:
I used the Image Concatenate (Multi) node , set the input count to 3 , and added:
Then I generated the video using all three inputs together.


