
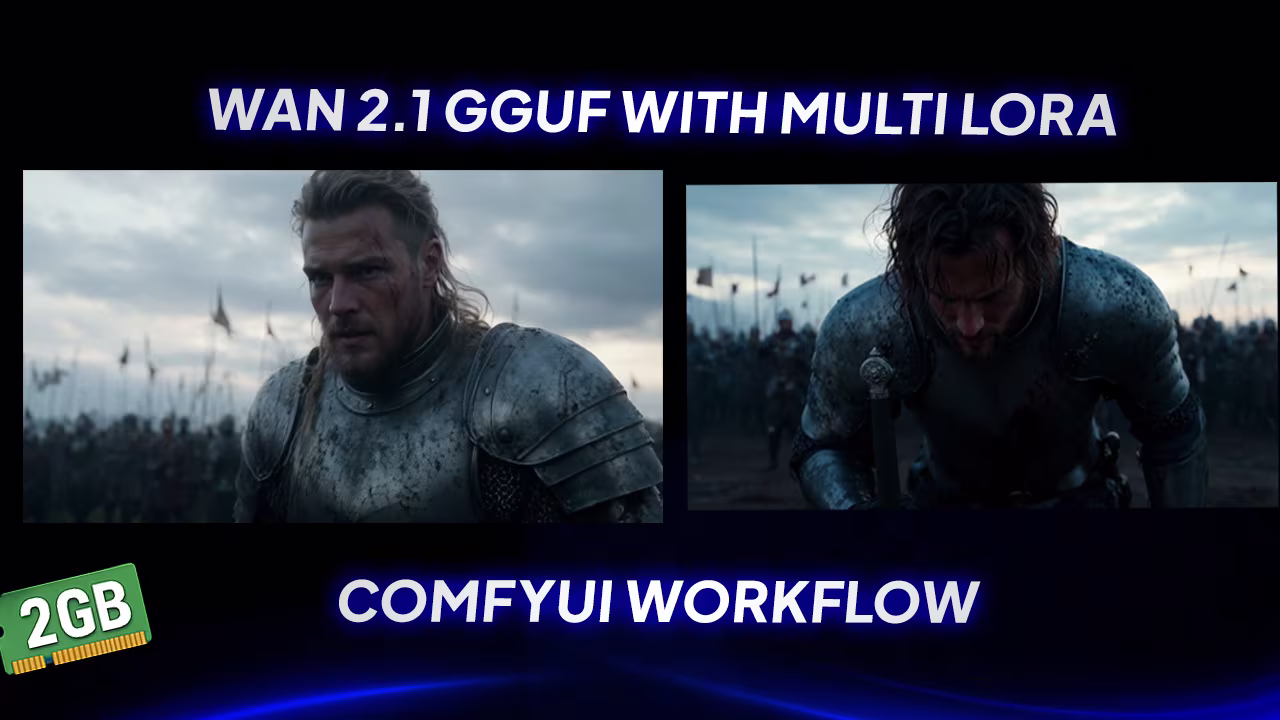
I finally got around to updating the Wan 2.1 FusionX workflow to support GGUF for text-to-video and image-to-video generation.
Let me explain why this matters.
A while back, I released a Fusion X workflow that used SafeTensors — which worked great but required more VRAM. The feedback was pretty consistent: “Can you make this work with GGUF instead?”
The short answer: yes.
And not only does it work now, but it can run on as little as 2 GB of VRAM — which is huge for folks with older hardware or limited resources.
That’s right, even if you’re stuck with an older GPU, you can still use Wan 2.1 FusionX (GGUF version) for high-quality video generation without crashing your system.
Supported Models and Quantization Levels
This new workflow uses several GGUF quantized models that are available on Hugging Face. These include both text-to-video (T2V) and image-to-video (I2V) models.
Here’s what you need to know about the quantization levels:
In this guide, I’ll also be comparing Q4 vs Q8 versions in real-world tests so you can see how much quality difference there is between them.
One of the nice features in this workflow is optional LoRA support . Here are the models you can optionally use:
You can bypass any of these by simply disabling their group in the workflow. No need to delete nodes or mess with connections — just toggle off the group and move on.
If you’re using the Fusion X model , I noticed during testing that it actually performs better without LoRAs enabled. So unless you have a specific reason to use them, feel free to skip them when working with Fusion X.
Installation Notes: SegAttention & Triton
Many users might not have SegAttention or Triton installed yet — and that’s totally fine. Both of these tools improve performance, especially when dealing with large models or complex workflows.
But here’s the good news:
You can safely bypass those nodes if you don’t have them. Just disable the group in the workflow, and you won’t hit any errors.
I highly recommend installing both if you plan to keep using this workflow long-term — but no pressure. It works either way.
For Low VRAM Users: MultiGPU Node Setup
Now, if you’re working with limited VRAM (like under 6GB), there’s a special setup you need to follow to avoid out-of-memory errors.
Here’s how to configure the MultiGPU node properly:
This setup lets you run the workflow even on low-end GPUs without crashing.
Important Bypass Groups for T2V vs I2V
Another thing to note: depending on whether you’re doing text-to-video (T2V) or image-to-video (I2V) , you’ll want to enable/disable different sections of the workflow.
Here’s how to handle it:
It’s a simple toggle switch in the workflow — just make sure you’re not accidentally running both at the same time.
Results: Old Model vs New Fusion Model
You’ll remember earlier I mentioned that older Wan 2.1 models used to take around 30 steps to generate decent results.
Well, that changed.
With this updated workflow, the same model now produces great results in just 5–10 steps — which is a massive improvement in efficiency.
And when comparing directly with the Fusion X model without LoRAs , the non-Fusion model with LoRAs actually looked slightly better in some areas — like background clarity and motion blur effects.
So if you’re aiming for maximum visual fidelity , and you have the VRAM to spare, using the non-Fusion model with LoRAs enabled could be your best bet.

Final Thoughts Before Moving On
At this point, we’ve tested both text-to-video and image-to-video workflows using different models and configurations.
We’ve seen that:
Model Download Links
Main WAN Model
- Model Name: Choose any GGUF file from the list
- WAN 2.1 I2V 14B 720p GGUF Models (Hugging Face)
- Wan2.1_T2V_14B_FusionX-GGUF
- Wan2.1_I2V_14B_FusionX-GGUF
- Place In: ComfyUI/models/diffusion_models
WAN VAE
- Model Name: wan_2.1_vae.safetensors
- WAN 2.1 VAE (Hugging Face)
- Place In: ComfyUI/models/vae
WAN Text Encoder
- Model Name: GGUF text encoders
- umt5-xxl-encoder-gguf (Hugging Face)
- Place In: ComfyUI/models/text_encoders
WAN CLIP
- Model Name: clip_vision_h.safetensors
- WAN CLIP Vision (Hugging Face)
- Place In: ComfyUI/models/clip_vision
Thanks for the free work flow
When I run the workflow, after installing all plugins and models, the following prompt appears when I click “Run”:
ModelPatchTorchSettings
Failed to set fp16 accumulation, this requires pytorch 2.7.0 nightly currently
What could be the reason? I have already installed pytorch 2.7.0 nightly, but the issue persists.
hi can you please tell me if it works on gtx 1060 6Gb vram ? because it takes forever and get stuck on ksampler and nothing happens
Thank you so much for the workflow. just a quick question are you able to add mag cache to this workflow please.
email download doesn’t work. Why don’t you just add a link to the workflow?
The link is not working I put my email but no email has posted
I’m use infinitetalk_multi WanVideoSampler ‘NoneType’ object has no attribute ‘max’ “How to fix”
CAN’T DOWNLOAD