


I recently got my hands on the Hunyuan 3D 2.1 Model Think to Create and Run in ComfyUI, So i had created the workflow share with you.
This is a pretty exciting Model because it’s the first open-source 3D generation foundation model that can produce physically accurate textures, film-grade lighting, and material details.
Let me break this down step by step, just like I did in my test run.
What Is Hunyuan 3D 2.1 Model?
Hunyuan 3D 2.1 stands out from other open-source 3D models because most of them rely on basic RGB textures, which limits realism.
But with Hunyuan 3D 2.1, they’ve improved the geometry-texture decoupled architecture.
This gives creators more control and better results.
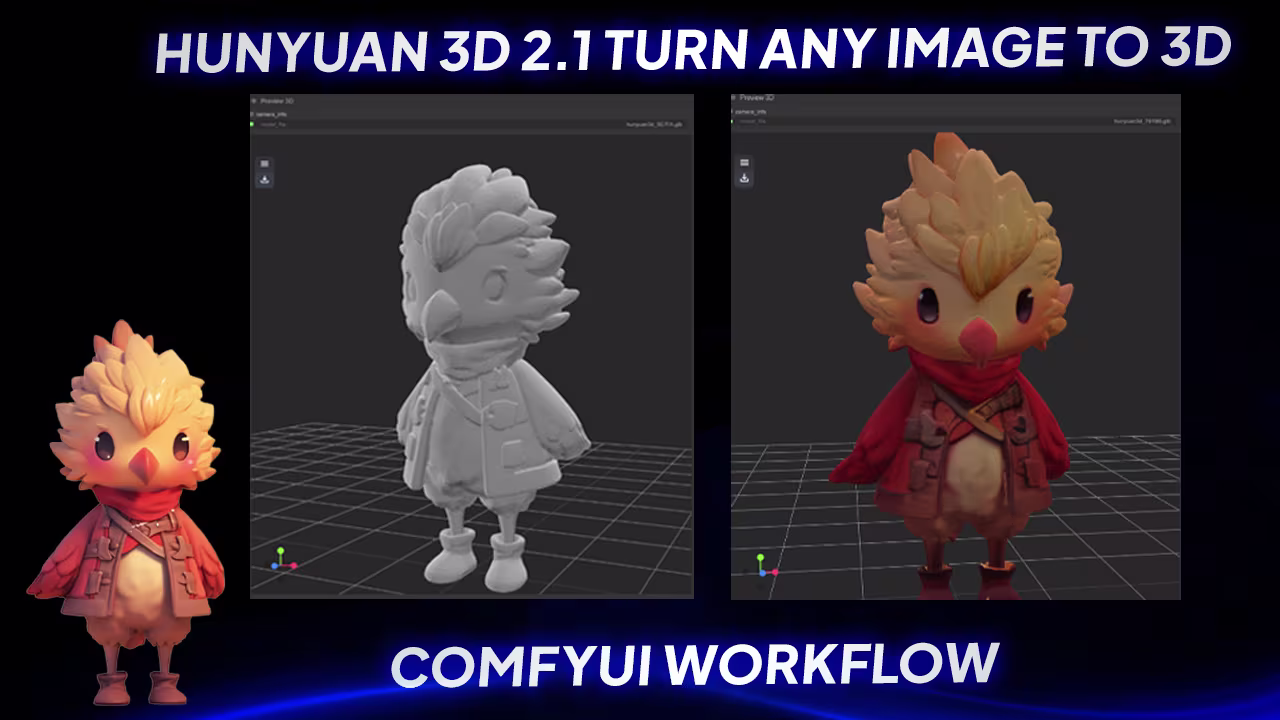
You start with a single image — whether it’s a photo or an AI-generated one — and in about a minute, you get a high-fidelity, TBR-textured 3D model.
And future updates will include text-to-3D generation, multi-view input, and more.
The goal has always been to make 3D generation faster, more realistic, and accessible to everyone.
Key Features
How to Download and Install the Hunyuan 3D Node
First things first — you need to install the node.
You can do this manually or through the ComfyUI Manager.
I went the manual route, so here’s what I did:
- Open the custom nodes folder in your ComfyUI directory.
- Open that folder in Command Prompt (CMD).
- Clone the repository by running.
- git clone https://github.com/niknah/ComfyUI-Hunyuan-3D-2.git
- Navigate into the
ComfyUI-HunYuan-3Dfolder. - Open the
requirements.txtfile. - Remove or comment out the line containing
python-dev - Save and close the file.
- Run:
- pip install -r requirements.txt
- Then run:
- git submodule update –init
- (This is super important — it ensures all dependencies are properly initialized.)
- Check the
ComfyUI-HunYuan-3Dfolder again. You should see two subfolders:HunYuan3D-2andHunYuan3D-2.1. - Make sure these folders aren’t empty — they should contain the necessary files.
- Finally, install the core generation package by running:
- pip install hy3dgen
That’s it! You’ve successfully installed the ComfyUI HunYuan 3D node, which is used to generate 3D models directly inside ComfyUI.
In the workflow, I selected the HunYuan3D-DiT v2.1 model. It automatically downloaded the required files and saved them in:
.cache/huggingface/hub/models--Tencent--HunYuan3D2.1/Inside this folder, there are two main directories: snapshots and refs. These contain all the model weights and version hashes needed for the generation process.

Using the Multiview Feature for Better Results
I mentioned earlier that most open-source 3D tools rely on basic RGB textures, which limits realism.
HunYuan 3D 2.1 improves this by using a geometry-texture decoupled architecture.
And with the Multiview feature, you can take things even further.
How Multiview Works
In the HunYuan3D-2 Image-to-3D Sampler node, there are options like:
This means you can upload multiple reference images of the same object from different angles — front, back, left, right — and let the AI use all that data to build a more accurate 3D model.
Why This Matters
By giving the AI more visual information, it gets a much better understanding of the object’s shape and structure.
Instead of guessing based on a single image, it now has multiple perspectives to work with — which results in a higher-quality output.
This is especially useful when working with complex shapes or objects where depth and curvature matter a lot.
Exporting Your 3D Model
Once the generation is done, it’s time to export your 3D model so you can use it in other software like Blender.
Here’s how I did it:
- Clicked on the three parallel lines (the menu icon) inside the node.
- Selected Export .
- Chose the
.glbformat — this is a widely supported format that includes both geometry and texture data in a single file.
You can then open the exported .glb file in Blender, Maya, or any 3D engine like Unity or Unreal Engine.
I tested it in Blender and confirmed that the model loaded perfectly with all textures intact.
The whole process — from uploading the images to exporting the final result — took around 28 seconds .
That’s fast. And the detail level? Pretty impressive.
Final Thoughts and What’s Next
So far, my experience with Hunyuan 3D 2.1 in ComfyUI has been pretty solid.
Installation was straightforward, and once I got the hang of the correct workflow settings, the actual generation speed and output quality blew me away.
Still, if you’re into hunyuan 3d comfyui install , image to 3d ai generator , or hunyuan 3d multiview , this is definitely worth checking out.
Hi Esha, I followed your detailed tutorial video and instructions here however I am not able to get the models downloaded to .cache …directory. Seems like the repo is not valid or not publicly accessible. I would be great to have some clarification on this. Highly appreciated.
Hi, I get this error
error: pathspec ‘–init’ did not match any file(s) known to git
when running this cmd
git submodule update –init
Found the cause. copy/paste didn’t copy the dash, dash (–init)