


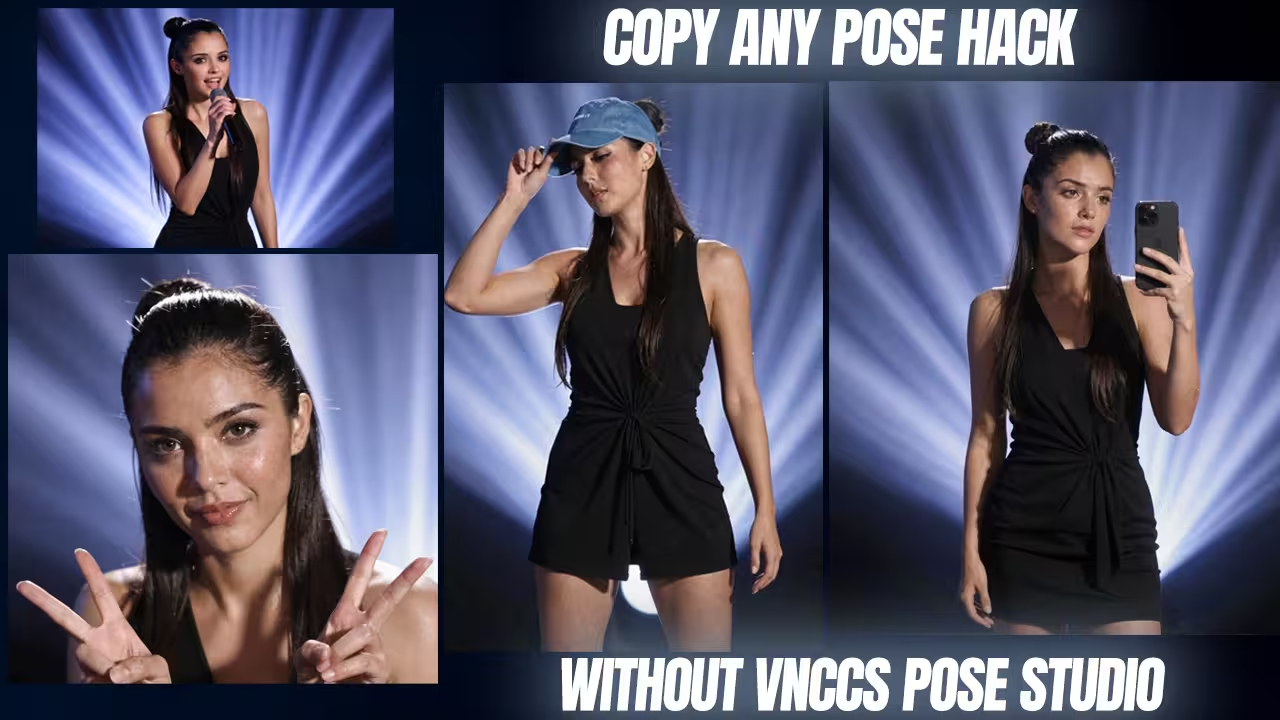
I just created a workflow in which I found a brilliant hack to copy any character pose directly from a photograph without using complex manual 3D rigging. If your Qwen 2511 generations look like generic plastic dolls or you are struggling to extract complex postures from reference images, your node routing is misconfigured.
I built a custom VNCCS ComfyUI workflow that bypasses manual posing entirely and completely fixes the dreaded AI generic face. Here is the exact technical setup I use to run this on consumer hardware.
Files to Download (Safety First)
- Custom Node:
Qwen-VL Node (by aistudynow)- Context: Required to automatically analyze your reference image and write a perfect posture prompt so the model understands the body position.
- Safety Check: I have scanned this locally. Safe to use.
- File Name:
VNCCS_PoseStudio_V5.safetensorsand skin lora- Context: The crucial LoRA required to steal poses from photographs without hallucinating random backgrounds. Place this in
ComfyUI/models/loras/. - Safety Check: I have scanned this locally. Safe to use.
- Context: The crucial LoRA required to steal poses from photographs without hallucinating random backgrounds. Place this in
- File Name:
face_yolov8m.pt- Context: The bounding box detector used by the VNCCS Qwen Detailer to isolate and fix the face. Place in your bounding box models folder.
- Safety Check: I have scanned this locally. Safe to use.
Setup and Prompting Rules
This setup gives you total control. You can steal poses straight from photographs.
First, put your reference picture into Camera 2. This is your image input.
Next, add the Qwen-VL node. Go to the settings. Pick the preset called “prompt body posture.” This tells the main model exactly what to do.
You must type a very specific text prompt. Write this exact phrase: “Draw character from image 2.”
Want to use the 3D studio in Camera 1 instead? You can change the lighting easily. You do not even need to type. Just grab a light in the 3D dummy menu. Move it to the side. The model reads this data. It adds dark, dramatic shadows to your picture automatically.
Fixing the Waxy Skin Bug
Qwen 2511 often makes skin look like plastic. You can fix this fast.
Send your image through the VNCCS Qwen Detailer. Use the face_yolov8 detector here. Then, pass it through the Z-Image Turbo group. This brings back real skin pores. It removes that smooth AI look.
- Step 1: Find the VNCCS Qwen Detailer group.
- Step 2: Choose “face” targeting with the face detector.
- Step 3: Turn on the Z-Image Turbo group at the end.
I tested this on an RTX 4080. The base model gave me waxy faces. This two-step process fixed it completely. It took under 12 seconds.
Stopping Random Backgrounds
Sometimes the model creates messy backgrounds. To stop this, you need the right tools.
Keep the VNCCS PoseStudio V5 LoRA turned on. Use the exact trigger phrase I gave you earlier. If you turn this LoRA off, the model gets confused. It will draw random places.
- Step 1: Load VNCCS_PoseStudio_V5 in your LoRA loader.
- Step 2: Make sure it is ON.
- Step 3: Check your prompt for the trigger phrase.
I tested a hard pose on a 12GB card. Without the LoRA, the background failed. The fingers looked awful. With the LoRA on, the pose locked in perfectly.
Preventing Memory Crashes
Running out of video memory is annoying. Big nodes eat up your VRAM fast.
You can prevent crashes with bypass switches. Turn off the heavy detailer groups first. Generate your base image. Then, turn them back on.
- Step 1: Select the VNCCS Qwen Detailer and Z-Image Turbo groups.
- Step 2: Set them to “Bypass” (Ctrl+B or Cmd+B).
- Step 3: Create the base pose. Re-enable the groups for the final details.
I ran this on an older RTX 3060. Running everything at once crashed it immediately. Bypassing the heavy groups saved my memory. The generation worked perfectly.