Here’s the thing: product placement used to take too long. Long edits. Too many steps. With Higgsfield Product-to-Video, you can start from nothing or drop in a product image, and the shot comes together in seconds. It looks planned and clean, not messy. Let’s be real, speed is the whole point.
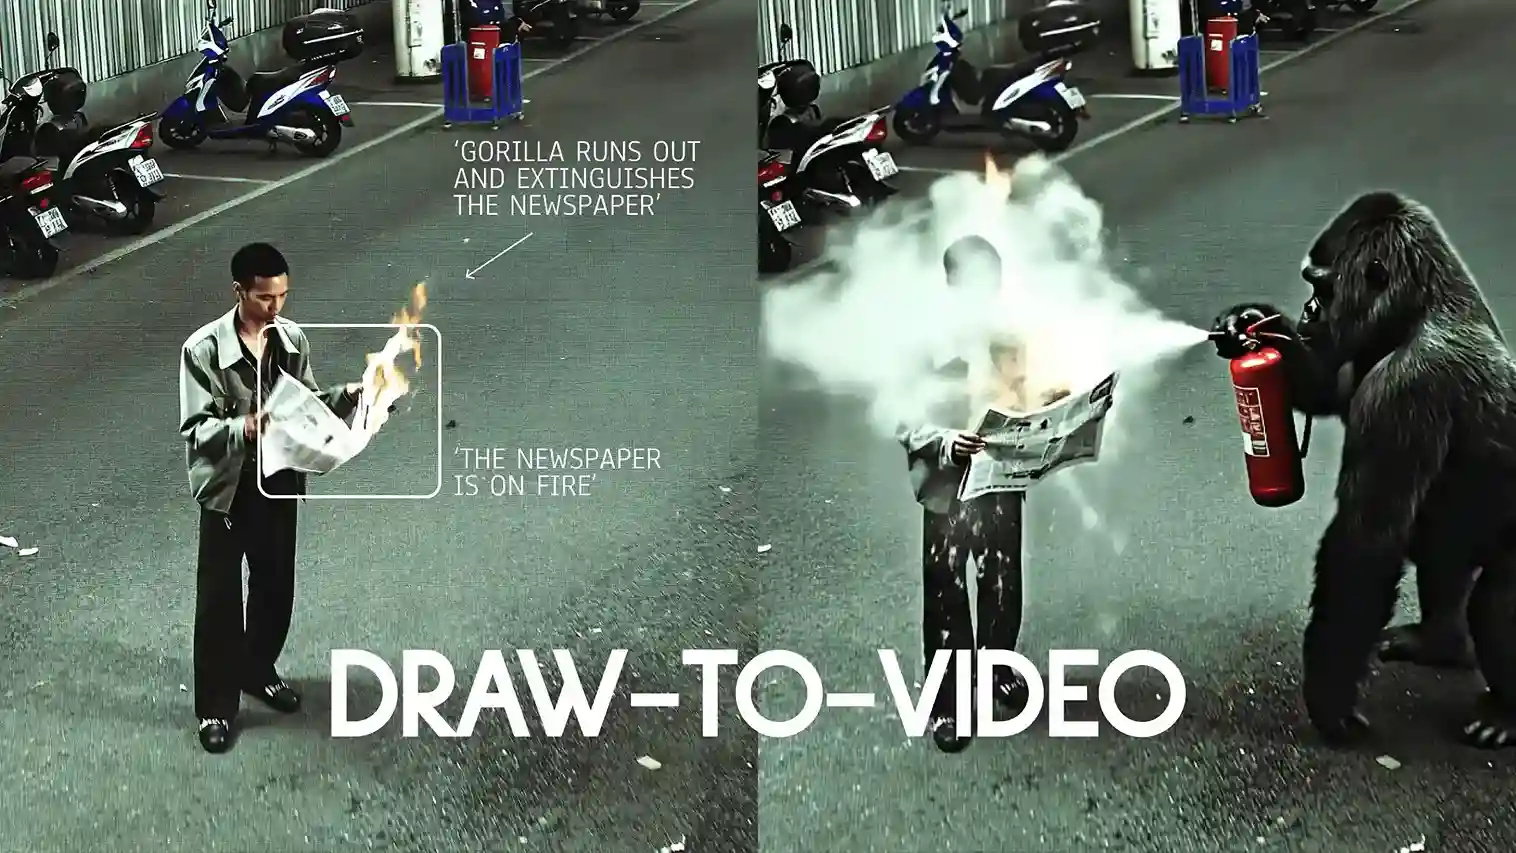
Draw your vision — no prompts needed. The update adds product placement to Draw-to-Video, so you’re not guessing with text anymore. You point. You make small changes. The system follows. I didn’t expect this part to feel this simple.
“The future of product placement” isn’t about typing long prompts now. It’s about directing the shot like a real set.
How it fits in real work
You don’t need a big timeline. You don’t need a complex node setup. You mark the motion, place the object, and hit Generate. It worked better than I thought. Use it for ads, social posts, or storyboards when you just need a clean, centered product shot that’s easy to see.
If you want the exact page, it’s here: higgsfield.ai/create/draw-to-video. Follow that flow and build the scene.
Setup with Higgsfield Product-to-Video (Draw-to-Video)
Here are the steps you have to follow:—
1) Go to the editor
Open higgsfield.ai/create/draw-to-video. That’s the canvas where you draw, place objects, and direct the shot.
2) Upload or generate your starting image
I drop in a base image. You can also generate one with Higgsfield Soul.
If you have a Soul ID, use it so your character stays the same across shots.
Example image from the guide: 2049.

3) Add directions on the canvas
Keep the text short. One line per action.
- Describe the action: “Man walks”, “car passes by”, “giraffe appears”.
- Draw arrows to show the direction of motion.
- Sequence the moves if you need order (1, 2, 3):
- Man walks
- Car passes by
- Giraffe appears
- Keep it tight: two or three actions per shot work best. More than that can break the motion.
- Square frame (optional): draw a small square to lock the area or item you want the model to focus on.
Product placement in Higgsfield Product-to-Video
4) Insert images directly into the frame
Press Add Image → choose your image.
For product placement
- Put the product where it should live in the scene (near the hand, on the table).
- Resize it to real-world scale so it blends in.
- Add a short note so intent is clear: “Character picks up the drink and shows it to the camera.”
For outfit changes
- Drop the clothing item next to the character.
- Match the size to the body.
- Label it: “Character changes into red jacket.”
Tips that keep results clean
- Match size to how it would look in real life.
- Always add arrows or a short line of text: “Person drives the car.”
- Use high-quality images for better output.
- Keep styles consistent. Don’t mix a cartoon prop into a photoreal scene.
- You can add up to 3–4 images, but 1–2 is usually best.
- Image insertion works only with Veo 3 and MiniMax Hailuo 02.
Example instructions:
Go promptless
Skip the wall of text. The drawings and small notes are the brief. Arrows set motion. Short labels set intent. That’s it. No guesswork.
Pick the right model
- Veo 3 — when you want built-in audio and lip-sync.
- MiniMax Hailuo 02 — when you want high-energy, dynamic shots.
- Seedance — when you want crisp, high-resolution looks (doesn’t support image insertion yet).
Anyway, the editor stays the same. You just switch models for the shot you need.
Generate
Hit Generate and let the scene play out. If timing or scale feels off, nudge the arrows, resize the product, or trim an action. Then run it again. Two or three actions per shot keeps it clean.
Wrap-up
So yeah — motion, product placement, outfits, extra objects — all directed on the canvas. No prompts. Just marks. Fast to set up, and the results look staged instead of stitched. If you want to start where I did, open higgsfield.ai/create/draw-to-video and build from there.


