When I started testing FlashVSR in ComfyUI, I expected it to behave like a normal upscaler. The first clip I used looked fine at first, but after a closer look I saw a ghost line around the armor. The edge had a light reflection that moved with every frame. I knew the model was missing something, so I began checking what was wrong.
During my search I found that FlashVSR is not just an upscaler. It is a video restoration model that rebuilds lost details frame by frame. The official samples showed three versions of the same scene — one without LCSA and one with LCSA. LCSA means Locality Constrained Spatial Attention. That function keeps motion clean and consistent. Most ComfyUI builds don’t have LCSA, so they rely on SDPA or Seg Attention. That is why ghost reflections appear in many tests.
When I compared the official video, the difference was clear. The version with LCSA looked clean, and the reflection disappeared. Once I understood that, I started testing every possible setting to find a stable setup inside ComfyUI.
Understanding the Problem
The ghost reflection appears when the model tries to match frames that are too large for its internal limit. Each frame blends information from the next one, so edges split into two. I tested different resolutions, step counts, and attention modes. The problem only happened when the resolution passed 1024 pixels in width or height.
When the video size was 1536×2688, the armor edge broke completely. I realized the model could not handle the higher size.
To test a fix, I added a Math node and divided both width and height by 2. My clip changed from 1536×2688 to 768×1344. When I ran it again, the ghost reflection was gone. The motion looked smooth, and the detail stayed clean.
That one change fixed the issue. After that, I rebuilt the entire workflow to make it simple and stable.
Files You Need to Download
Before starting, make sure you have these three model files inside your ComfyUI folders:
Core Models:
- Wan2_1-T2V-1_3B_FlashVSR_fp32.safetensors
- Wan2_1_FlashVSR_LQ_proj_model_bf16.safetensors
Save both insideComfyUI/models/diffusion_models
Decoder:
- Wan2_1_FlashVSR_TCDecoder_fp32.safetensors
Save this one insideComfyUI/models/vae
After adding the files, restart ComfyUI so it can detect them correctly.
Building the Workflow
I start by loading my video with the Video Loader node. The clip I used is 1536×2688 at 30 FPS with 92 frames.
Then I connect a Video Information node. It reads the frame count and resolution automatically. Next, I add two Math nodes to divide the width and height by 2. Now the working size becomes 768×1344.
I pass this through Image Resize v2 and keep Proportion Lock on. For the resize method, I choose Lanczos, which gives sharp scaling without blur.
Then I add the When Video at FlashVSR Input node. This is the main enhancement step. I keep Strength between 1.0 and 1.3. That range keeps details strong but avoids ghost lines. For heavy-motion footage, the LCSA build will help even more once it’s available.
After that, I link it to When Video Sampler and finish the first group. The next part uses SeedVR2 as the upscaler to bring the resolution back to full size.
The idea is simple:
- Reduce resolution by 2
- Enhance the half-size frames with FlashVSR
- Upscale back to full size with SeedVR2
This order gives clean detail and fast generation even on GPUs with 12 to 16 GB VRAM.
Testing Different Videos
Full HD Clips
I tested a 1080×1920 clip next. At full size, I saw a small reflection again, so I switched the divide value from 1 to 2. The ghosting disappeared instantly.
When I used Pad in the resize node, black borders appeared on the sides. I changed it to Crop, and the borders were gone. The new output looked sharper and the contrast improved. Skin texture became natural, and even small objects like a rabbit’s fur in the frame showed fine detail that was missing before.
4 K Upscale Result
After the restoration, I sent the video through SeedVR2 to upscale it to 4 K. The node processes each frame separately, rebuilding real texture instead of stretching pixels.
The final video looked like it was shot in 4 K directly. Edges were clean, lighting was balanced, and motion stayed smooth. Without FlashVSR, upscaling alone just increases size without restoring information. With FlashVSR first, the colors, shadows, and fine lines return before the upscale step.
That is why I always use FlashVSR before SeedVR2.
FlashVSR restores, SeedVR2 scales.
Together, they create stable, realistic 4 K videos.
Indoor Cinematic Test
For one more test, I used an indoor shot. A woman sits on a couch talking on the phone, and someone walks in the background. The resolution is 768×1344 at 30 FPS.
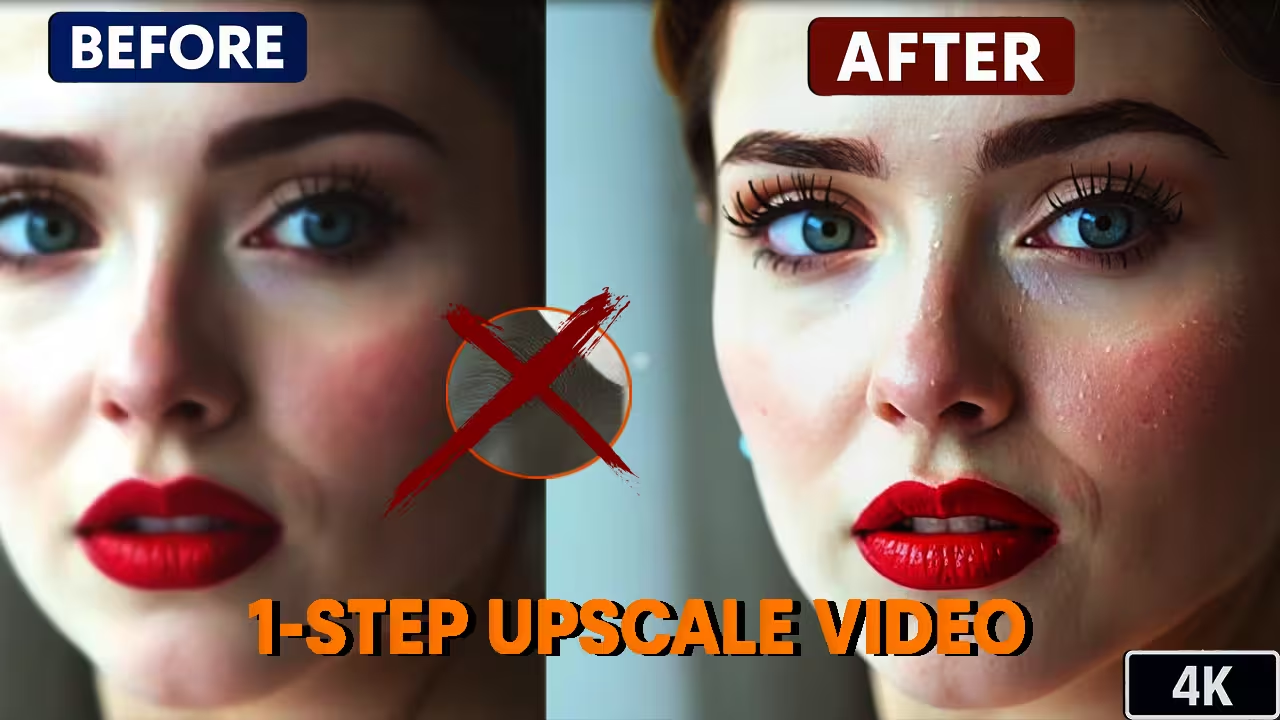
I set Strength to 1.0 and ran it. The enhanced version looked much better. The contrast improved, the eyes were sharper, and the background stayed detailed.
When I upscaled it to 4 K with SeedVR2, the lighting looked soft and natural, like a film scene. The reflection issue was completely gone.
Results and Conclusion
FlashVSR in ComfyUI is not just an upscale model. It is a frame-by-frame restoration tool. It brings back texture, fixes motion consistency, and prepares the video for clean 4 K upscaling.
If you see ghost reflections or flicker while enhancing video, the fix is simple:
divide your resolution by 2, keep Strength around 1 to 1.3, and use SeedVR2 afterwards.
Even on low VRAM GPUs, this workflow runs smoothly and produces professional results.
I tested multiple clips, and the results were consistent.
The final 4 K videos looked natural, detailed, and completely stable.
If you work with animation, restoration, or cinematic edits inside ComfyUI, this setup will give you the clean output you want.
That is all for this tutorial. Try it once, and you’ll see how different your videos look when FlashVSR restores before you upscale.


