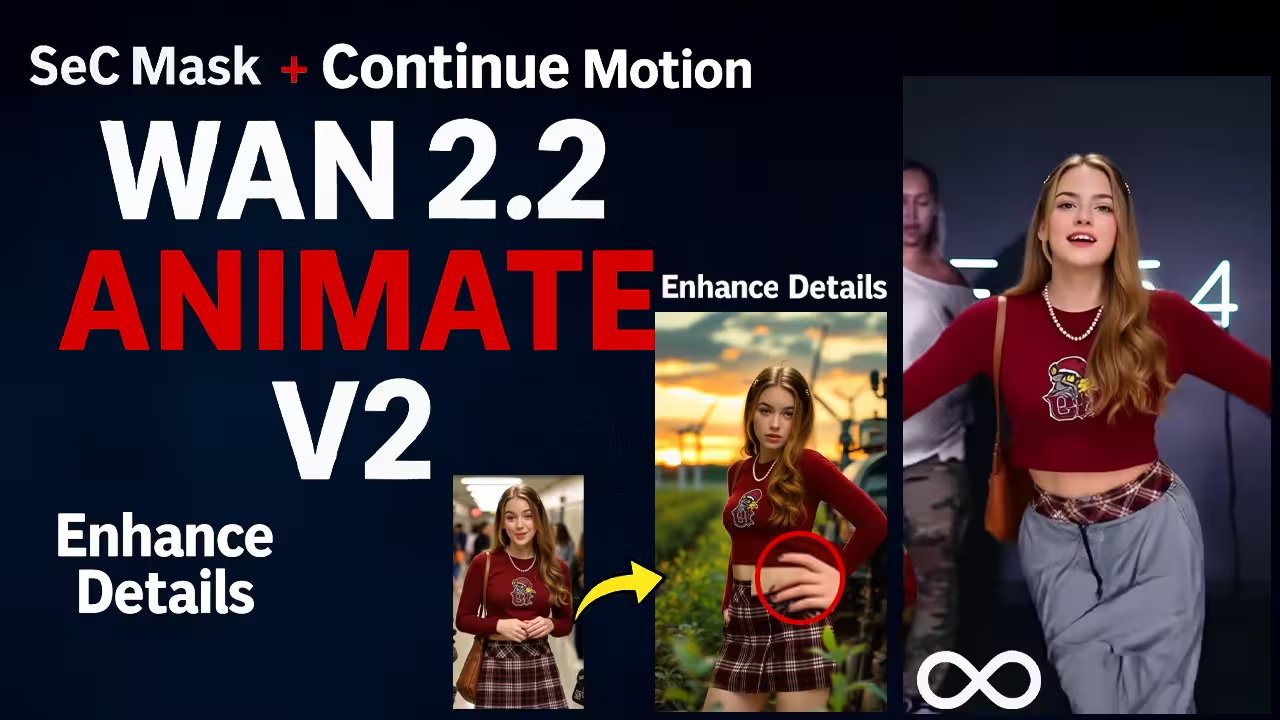
I’ve spent the past week testing Wan 2.2 Animate V2 inside ComfyUI, trying to make the workflow as simple and stable as possible.
This version give you smoother motion, better face tracking, and a cleaner mask system. It now supports long clips, and I found a few tricks to make it run even on low VRAM cards.
If you’ve used Wan Animate before, you’ll notice that this update feels more stable, especially when you add loops or background changes. I’ll show you everything you need — from model files to rendering tips — so you can build the same setup on your own PC.
Files You Need to Download
efore starting, make sure you have these files in your ComfyUI folders:
Core models:
Wan2_2-Animate-14B_fp8_scaled_e4m3fn_KJ_v2.safetensors— main model (ComfyUI/models/diffusion_models)umt5_xxl_fp16.safetensors— text encoder (ComfyUI/models/text_encoders)wan_2.1_vae.safetensors— VAE file (ComfyUI/models/vae)
LoRAs:
Relight LoRAfor better lighting matchI2V 14B 480-step Distill Rankfor speed and stable motionHuman Preference LoRA(optional, gives slightly more natural tones)
Detection Models:
vitpose-l-wholebody.onnxyolov10m.onnx
Save both inside ComfyUI/models/detection.
Mask Model:
SEG-4B-FP16.safetensors(or FP8 for low VRAM)
Save it in ComfyUI/models/sams.
If the folder doesn’t exist, create one called sams.
That’s all you need to run the workflow smoothly.
Setting Up the Workflow
I’m using the “Wan 2.2 Animate Advanced Workflow” that I made from the original base.
Once you upload it in ComfyUI, start by loading your reference image and this is the person or character you want to animate.
In the preprocessing section, you’ll see three main nodes:
- Onnx Detection Model
- Pose and Face Detection
- Draw VIT Pose
These scan every video frame to detect body joints and face points. It’s what keeps movement consistent and prevents the “floating head” problem that old versions had.
Using the New SEG Masking
his part is important because it completely changes how masking works.
Earlier, ComfyUI would automatically detect the largest subject in your video, but now you can select your own.
When you open the Point Editor, you’ll see red and green frames. Use green points to mark the person or object you want to include in the animation.
Let’s say you have a clip with three people — just place the green dots on the one you want to animate.
I also disconnected the old bounding box and added a reverse mask using the “Draw Mask on Image” node.
That’s what makes it process only the selected person — clean and accurate.
If you’re using the FP8 SEG model, it’ll still run fine on 12–16 GB cards. I tested both FP8 and FP16, and the difference is small.
Animation and Background Options
Now move to the Wan Animate to Video section.
Here you can choose whether to keep or remove the background.
If you want to replace it, disconnect the background hook and character mask nodes.
If you want to keep it, connect them again.
I usually keep the background because it gives a more natural look when faces and lighting match the scene.
When rendering, you can use 6 to 8 steps based on your GPU.
For most cases, 6 steps are enough — it saves time and still gives good quality.
Looping and Continue Motion
The new Continue Motion Loop is where Wan 2.2 Animate V2 really stands out.
With it, you can extend your animation beyond the normal limit.
In my tests, I used a 313-frame clip at 30 FPS, and it ran up to 10 seconds using the loop.
If you only need a short video, around 77 frames work best — smooth movement and no flicker.
For longer clips, use the Loop Method.
It repeats your animation until all frames finish, and I calculate loops using frame count, duration, and overlap.
For example, 4 loops worked perfectly for my 313-frame test.
Enhancement and Upscaling
After rendering, I usually do one light enhancement pass to make everything look sharper but still natural.
There are two ways you can do this:
- Detail Enhancer: good for clips under 5 seconds
- Wan 2.2 I2V Low Noise Model: better for long videos
If your clip is longer, go with the second option.
It removes extra noise and keeps the face stable even when you extend frames to 300+.
I also compared it with R2X Nomos UniXGen Multijpg Upscaler, and that one gave smoother edges and cleaner hands.
So for best results, enable one upscaler and disable the other — don’t use both at once.
Example Test Results
In one test, I uploaded a video of three women talking in a classroom.
I added a reference image for the middle one, placed the green points on her, and used six steps for generation.
After 77 frames, the face matched perfectly with my reference — the tone, clothes, and lighting all blended naturally.
When I extended it to 149 frames with Continue Motion, the face still stayed stable.
Even after 365 frames, there was no drift or change.
That’s what really shows how much this version improved.
I also tried a vertical video (480×832) of a woman dancing.
After trimming it to 121 frames, I used the Detail Enhancer again.
The result was clear — sharper lips, eyes, and hair edges.
So depending on your clip length, switch between enhancer and upscaler.
Free Download with Enhance Details
If you don’t get email to verify you can contact me at 23scienceinsights@gmail.com


