

Today I’m going to walk you through how to use ChronoEdit in ComfyUI.
If you are working on image editing and you use ComfyUI, you’ve probably noticed that many editing models change lighting, pose, or colour in unpredictable ways. ChronoEdit is different. It treats your edit like a short video clip, not just one shot. You start with your original image, you ask the edit you want, ChronoEdit “moves” through frames, and then you pick the last frame as your final result. In this way the lighting, pose and colour stay stable.
In ComfyUI, that means we use the “image-to-video” node workflow, extract the final frame, and get an image that looks like it was filmed that way — not edited afterwards.

File You Need To Download
Before you start the workflow, make sure all the right files are in place.
I’ve listed everything here so you don’t have to search one by one.
These are the exact files I used for my setup.
Diffusion Model
You can pick the Model that is Best For your system.
If your GPU has enough VRAM, i will suggest go with the FP8 version.
If you’re on a low-VRAM system, use the GGUF Model
LoRA
This one helps ChronoEdit run faster while keeping image quality stable.
It’s the distilled version that cuts down the steps and still gives clean results.
Text Encoder
You need this to make prompts read correctly in ComfyUI.
Save it inside the text_encoders folder.
Clip Vision
This file helps the model understand visual context and composition.
VAE
This is the same VAE many of us use for WAN 2.1 and OVI workflows.
It helps with lighting, shadows, and colour tone.
How to Set Up ChronoEdit Workflow in ComfyUI
Once you’ve downloaded all the model files and placed them in the right folders, it’s time to set up the workflow.
Step 1: Load the Models in ComfyUI
Open ComfyUI
- In Load Model Node choose ChronoEdit_fp8_e4m3fn_scaled_VAI.safetensors
- In Load VAE Node use wan_2.1_vae.safetensors
- In Load Text Encoder Node select umt5_xxl_fp8_e4m3fn_scaled.safetensors
- In Load LoRA Node select chronoedit_distill_lora.safetensors
Once you select all of the right model, you ready to Go
This is what ChronoEdit needs to run properly inside ComfyUI.
Step 2: Connect the Nodes
Next, connect the diffusion model, text encoder, LoRA, and VAE together through the Video Wrapper node.
This wrapper is what tells ComfyUI to treat the edit like a short motion clip.
It generates a small sequence of frames instead of a single still image.
Step 3: Set the Frame Count
ChronoEdit doesn’t edit in one shot.
It needs a few frames to reason through the change and that’s how the lighting and pose stay stable.
If your image looks exactly the same as your input, it just means the model didn’t get enough motion.
Try increasing the frame count.
Start from 24, and if it still looks unchanged, raise it to 33.
I usually keep mine between 24 to 36 frames because it gives natural movement without breaking the image.
Step 4: Write Your Prompt and Run
Now it’s time to test.
Let’s start with the same prompt from my video —
“Add a red car to the far-right lane with its tail lights illuminated.”
Load your input image, write this prompt in the Text Prompt box, and hit Queue Prompt.
ChronoEdit will generate a short sequence and then pick the last frame as your result.
In my test, the model placed the red car exactly where I asked.
The reflections and lighting matched the road perfectly.
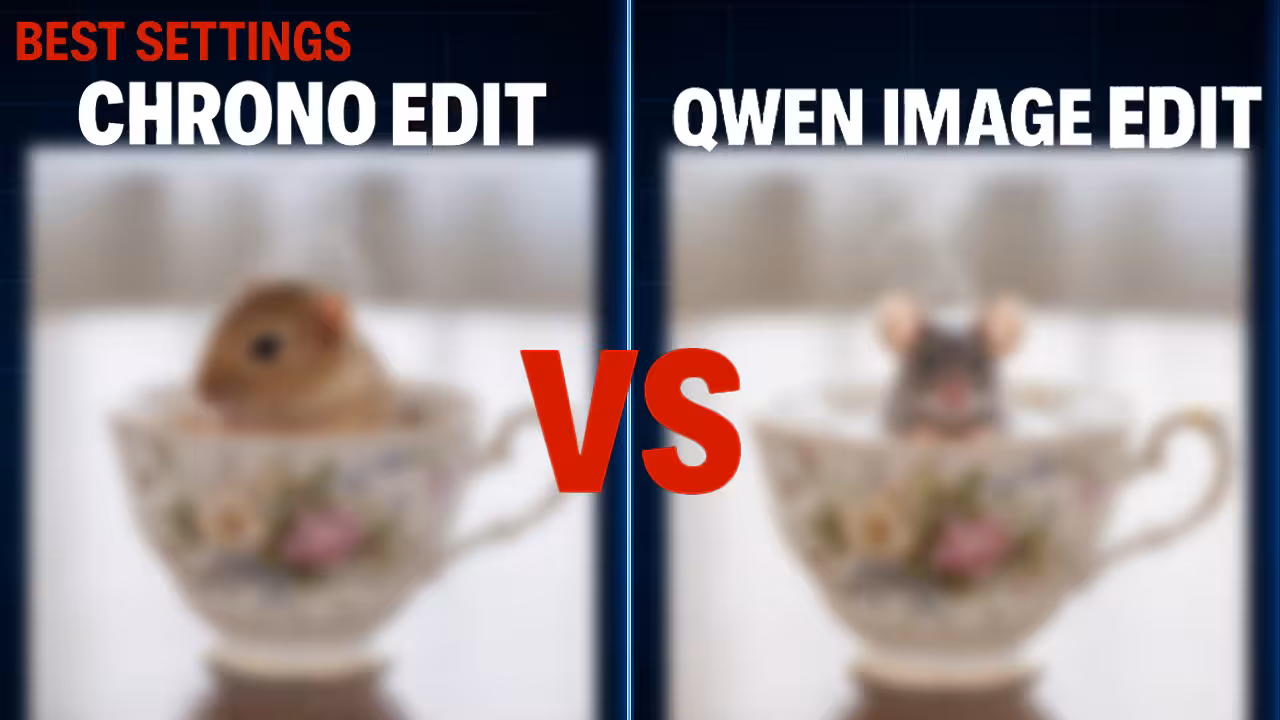
When I compared it with QWEN Image Edit, QWEN also added the car, but the lighting looked slightly off.
ChronoEdit’s result felt more natural — the car looked like it was already part of the original scene.