Back when I first tried anime image generation, I expected it to be heavy on VRAM.
But Neta Lumina surprised me.
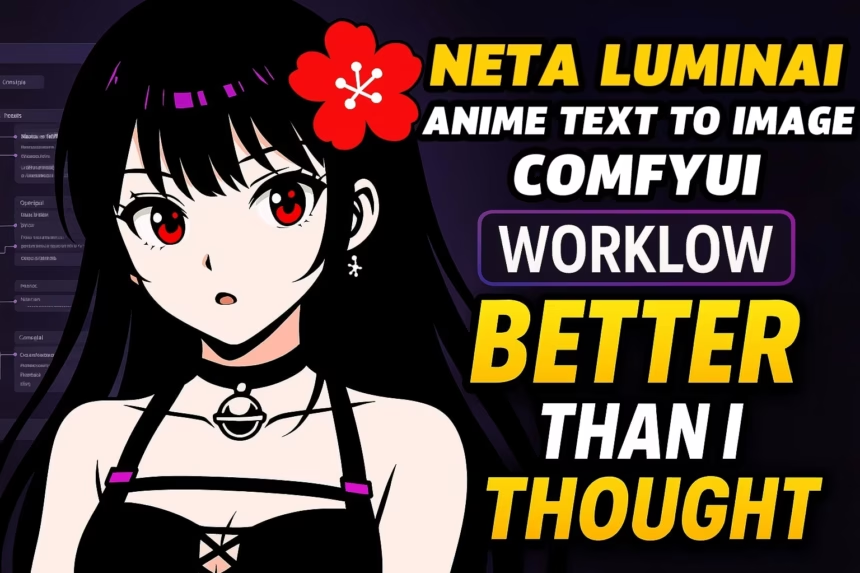
This model runs on less than 6GB of VRAM and was trained on 13 million anime-style images. That means it understands the unique look and tone of anime art — without feeling like a generic diffusion model.
And here’s the thing:
It uses the Gamma 2B text encoder, which is six times faster than T5-based encoders.
It also supports English, Chinese, and Japanese prompts — with accuracy that makes it perfect for anime generation.
Getting Neta Lumina Running in ComfyUI
I wanted to test it inside ComfyUI. So I built a simple workflow — just the basics — and planned to refine it if the output wasn’t good.
Here’s the setup I started with:
- Model loader
- Prompt node
- Sampling node
With those in place, I connected everything and prepared the first test.
But to run this workflow, you need three files:
- neta-lumina-v1.0-all-in-one.safetensors (place in
models/diffusion_models/) - gemma_2_2b_fp16.safetensors (place in
models/text_encoders/) - VAE file (same one from my previous Flux workflow)
Once the files were in the right folders, I was ready.
The Prompt Format That Works
This model doesn’t respond well to plain text. You have to start with:
You are an assistant designed to generate anime-style images based on text prompts.
I didn’t want to copy this line every time, so I used two Text nodes:
- Text 1 = the fixed instruction above
- Text 2 = the creative prompt
This made the workflow cleaner — and reusable.
How I Built the Perfect Anime Prompt
Even with the correct format, plain English wasn’t enough.
Neta Lumina needs tag-based prompts, similar to models on CivitAI.
Here’s the tag structure I used:
- Character:
1cat, 1girl, 2boy - Art Style:
anime, pixel, digital painting - Appearance:
blue eyes, long hair, white fur - Expression / Action:
cute expression, smiling - Camera / Framing:
close-up, upper body - Lighting:
soft lighting, window light - Scene / Mood:
bedroom, rainy day - Quality Tags:
best quality, masterpiece, high detail
The final prompt I tested:
1cat, anime, blue eyes, cute expression, soft lighting, window light, best quality
I left the camera tag out — letting the model decide framing.
This time, the image rendered beautifully. A clean, anime-style cat — exactly what I wanted.
Why Negative Prompts Matter
One mistake I made early on was skipping negative prompts.
The results looked blurry and lacked clarity.
Here’s my negative prompt list:
low quality, bad anatomy, extra fingers, blur, watermark, bad proportions, text, error, worst quality
Adding Flux for Better Detail
Flux acts like a post-processor, adding texture and depth where the base model struggles.
Here’s what I did:
- Created a new group in the workflow.
- Passed the output from Neta Lumina into Flux.
- Tuned Flux parameters for texture enhancement and detail recovery.
The difference was immediate:
- Clothing textures looked sharper.
- Edges and small objects were cleaner.
- Broken line art was fixed — without losing the anime feel.
Flux turned rough sketches into polished frames that felt ready for use in a scene.
Why This Workflow Works
The combination of Neta Lumina for base anime structure and Flux for final detail passes makes this workflow powerful.
You get:
- Accurate anime-style characters (thanks to Neta Lumina’s dataset).
- Polished, high-quality finishing touches (from Flux).
Final Thoughts
The combination of Neta Lumina + Flux is perfect if you’re aiming for anime-style cinematic art:
- Neta Lumina gives you the base character design and anime look.
- Flux takes care of polish, depth, and mood.


